How to Knit a Scarf
Instructions for how to knit your first scarf!
3/3/20254 min read
What you’ll need to knit a scarf is at least one skein of yarn and a pair of needles in a size that makes sense for the weight of your yarn. Yarn labels give you a recommended needle size for that weight. Larger needles will give you a looser fabric, whereas smaller needles will make a denser fabric, so choose a needle size that will provide you with the density you want for your scarf.
Materials
Casting On
Next, you will need to cast on. You can refer to my past blog post here for different methods to cast on. If you’ve never knit before, I recommend the knitted cast-on. It is simple and versatile and sets you up for knowing how to do a regular knit stitch. The number of stitches you cast on will depend on the weight of your yarn, your needle size, and how wide you want the final scarf to be. Cast on as many stitches as you’d like, understanding that the scarf will get a little bit wider as you knit the first couple of rows.
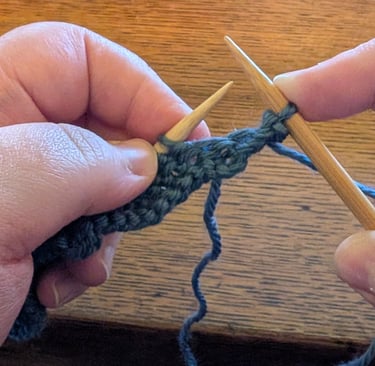
The Knit Stitch
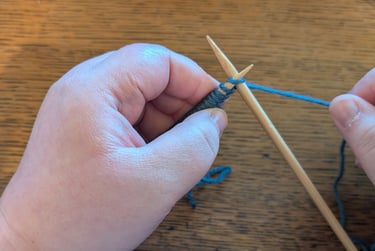
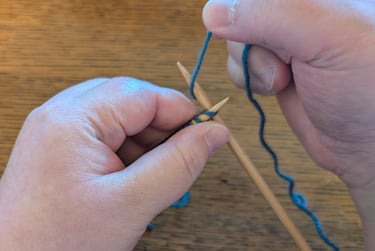
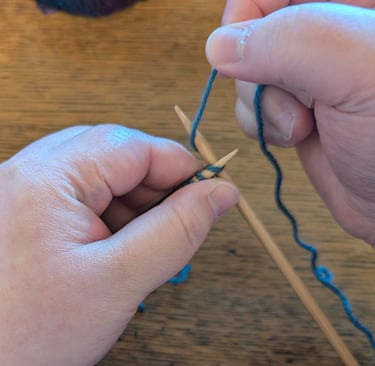
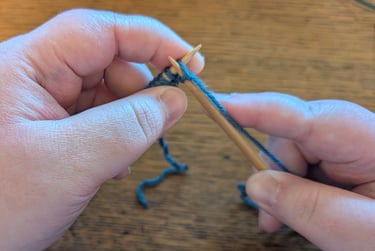
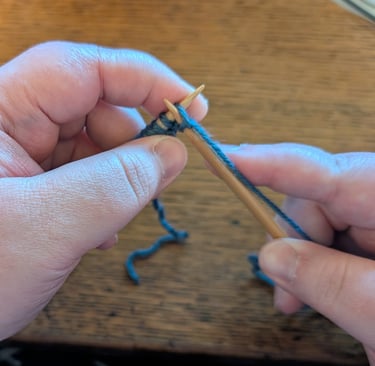
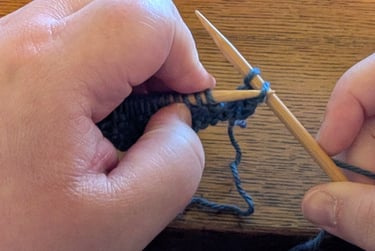
You may want to start by slipping the first stitch; to do this, insert your right needle into the stitch as shown in the first picture, then take it off the left needle, and that’s it! Slipping the first stitch of every row will give you a neater edge. To knit the next stitch, insert the right needle into the stitch as shown, and wrap the working yarn around the right needle clockwise while facing the same direction as the needle. Use the right needle to scoop the yarn through the loop, then pull the old stitch off of the left needle. Repeat until you have no more stitches on the left needle. You’ve completed your first row! Now turn the right needle around, it now becomes the left needle, and the empty needle is now the right needle. If you slipped the first stitch, you’ll want to keep doing that on the next rows. Knit the rest of the row, just like you did before. Continue in this manner until the scarf is the length you want. If you need to change to a new skein of yarn, refer to my blog post here.


Binding Off
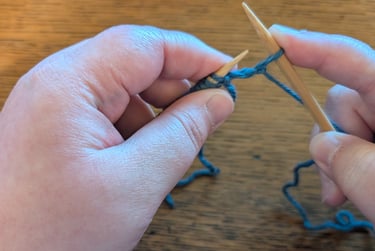
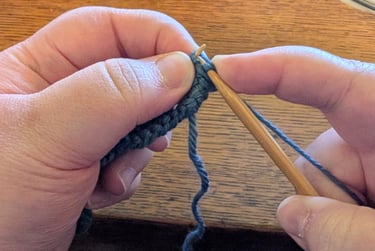
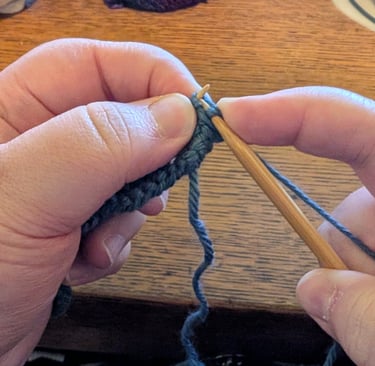
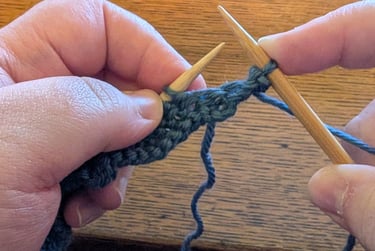
Once your scarf is as long as you’d like it, it is time to bind off so the stitches don’t unravel. To do this, knit the first two stitches. Then, pull the first stitch up and over the second stitch, as shown. Knit the next stitch and pull the first stitch up and over the stitch you just worked. Repeat until all the stitches have been bound off. To finish, cut the yarn with about a 5-6” tail, and pull it through the last loop. Tighten the knot and weave in the tail.

Embellishments
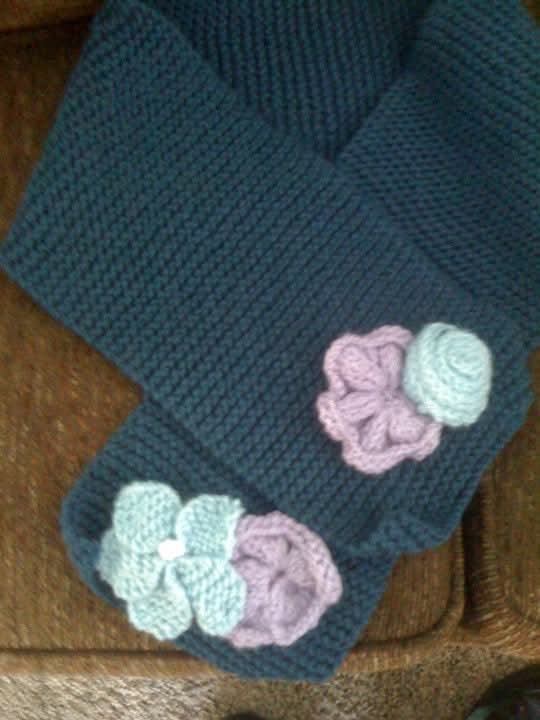
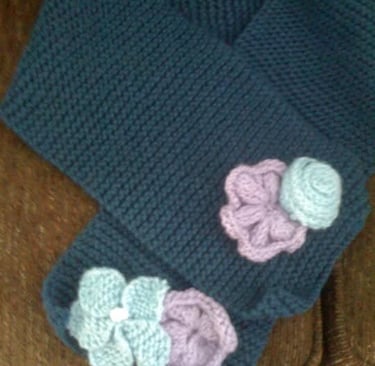
If you want to keep your scarf plain, that is perfectly fine! However, you may want to add some embellishments. You can add tassels, fringe, or pom poms to the ends. You can add embroidery, sew on an applique, or perhaps even knit some flowers like I did on the scarf shown at the top of this post. Some other possible embellishments include ribbon, beads, and sequins, you can even add some pockets to keep your hands warm too! As always, you can email me using the form below if you have any questions or need help. Happy stitching!