Basic Knitting Stitch Patterns
6 basic knitting stitch patterns using only knits and purls
3/10/20254 min read
Some basic stitch patterns can be made with just knit and purl stitches. You may be surprised what you can do with just these two stitches. If you don’t know the basic knit stitch, you can find it in my How to Knit a Scarf blog post here.
The Purl Stitch
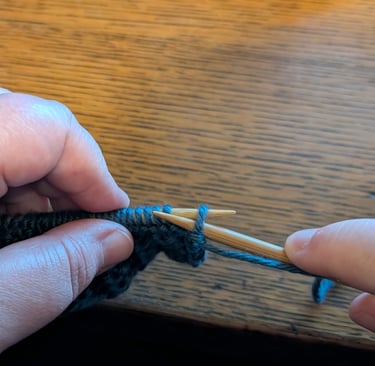
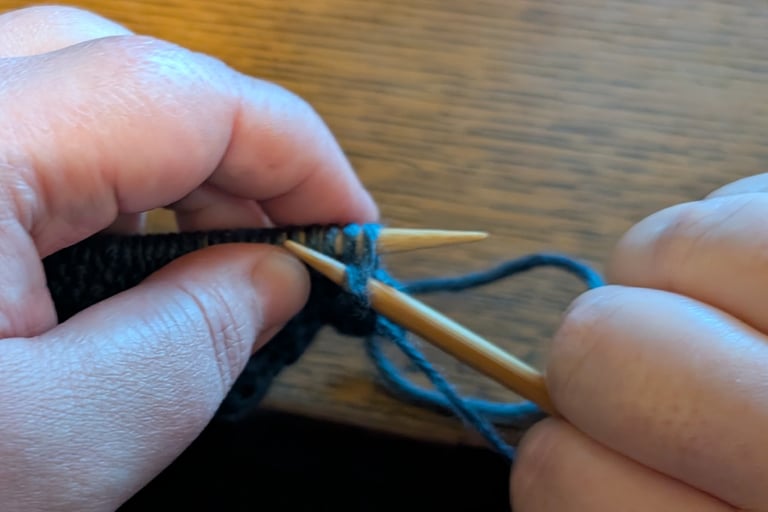
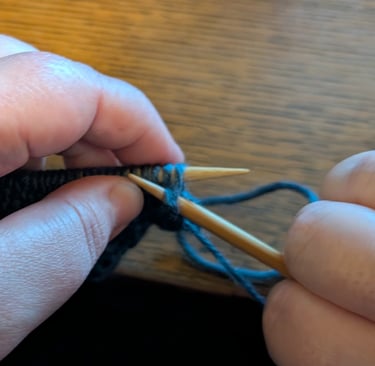
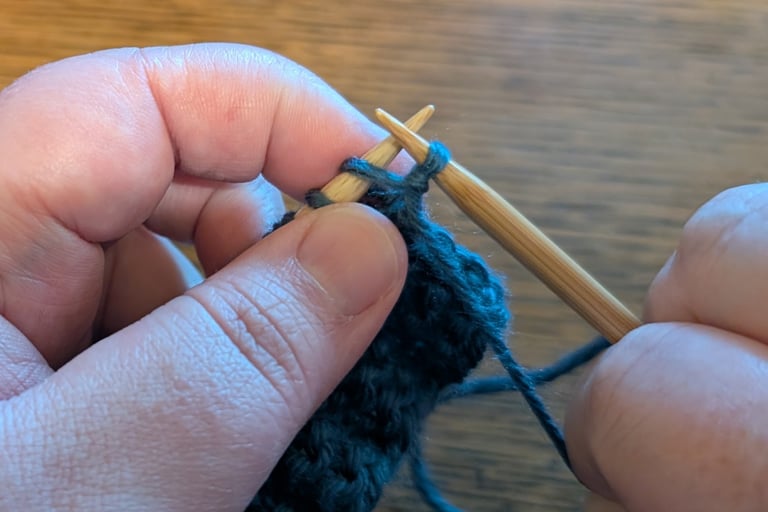
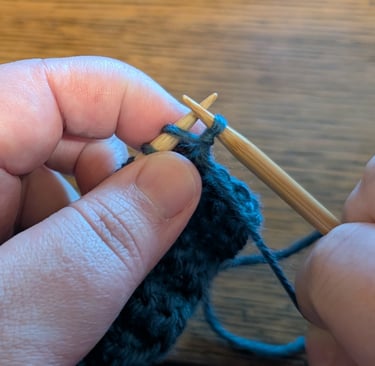
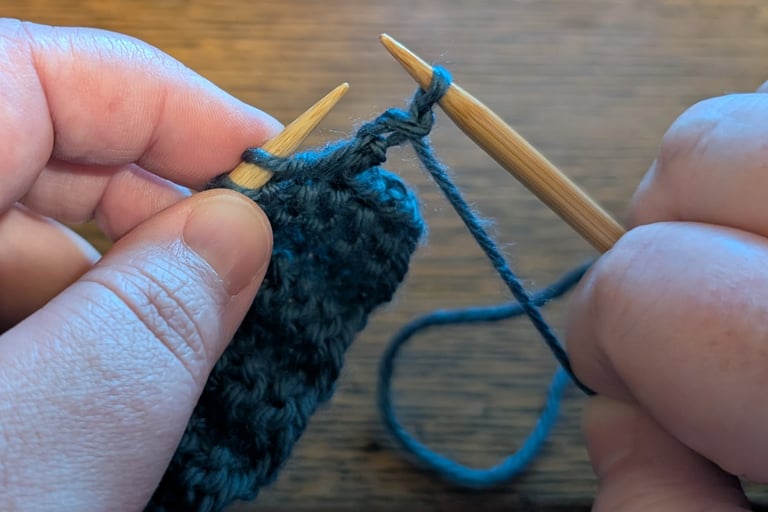
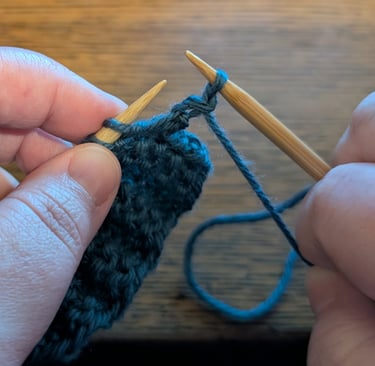
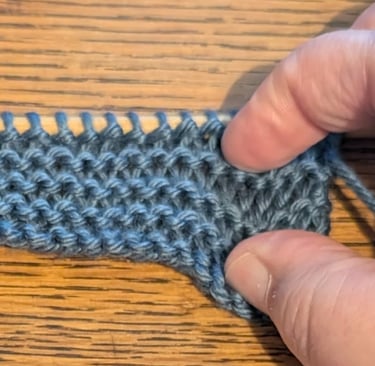
To make a purl stitch, with the yarn in front, insert the right needle into the next stitch from right to left, as shown. Wrap the working yarn over and around the right needle. Use the right needle to pull the yarn through the stitch, then take the previous stitch off the left needle.
Purl stitches are like the opposite of knit stitches. Making a knit stitch looks like a purl stitch on the other side, and vice versa. The knit stitches look like V’s, showing the bottom of the loop from the previous row, whereas purls look like bumps.

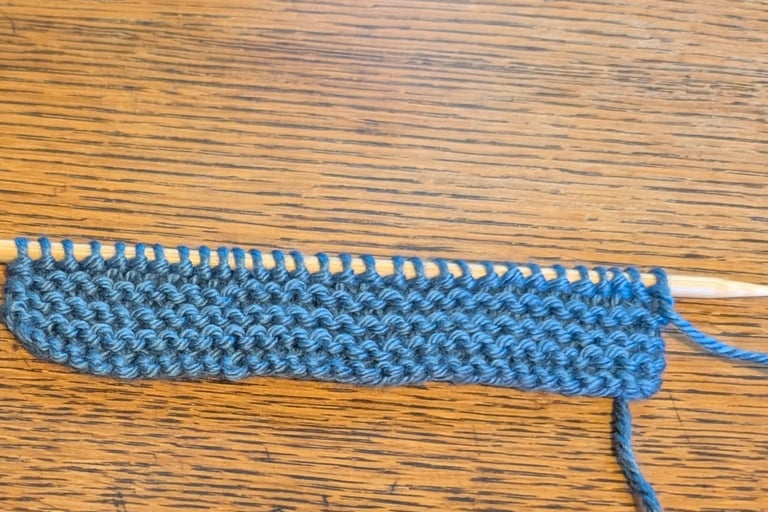
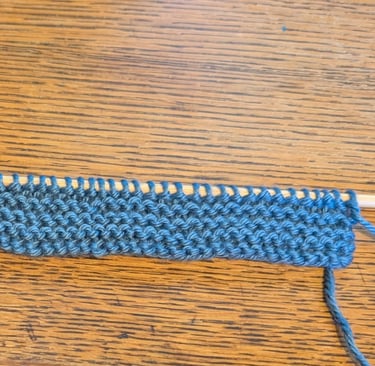
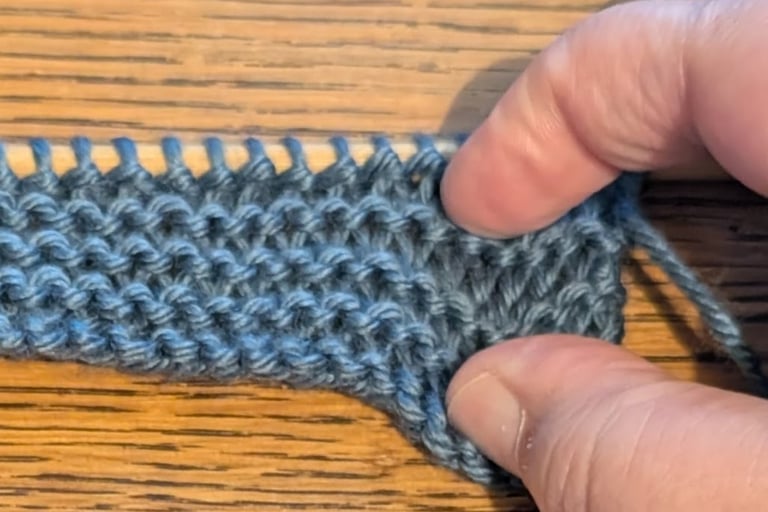
Garter Stitch
When knitting flat, if you do all knit stitches, as I describe in my scarf blog post, the result is called garter stitch. It looks like rows of purl bumps with ridges of V’s in between. You may need to stretch out the fabric a bit to see the knit stitches. This stitch pattern is reversible, so it works well for scarves, blankets, and dishcloths.
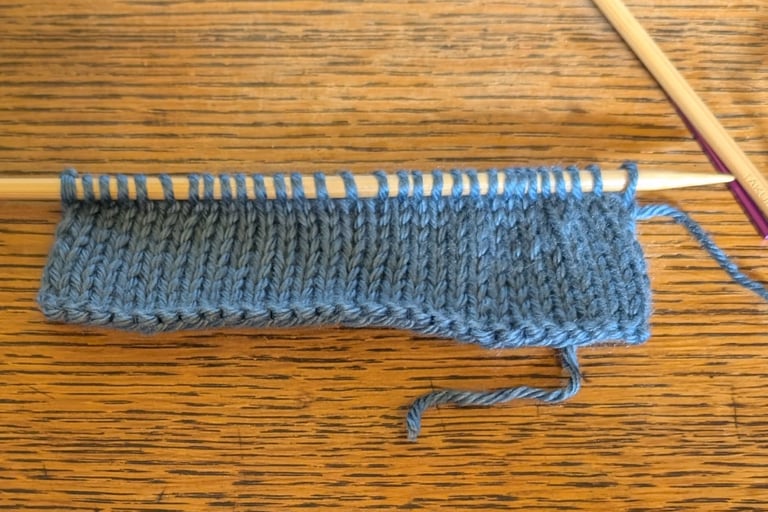
Stockinette Stitch
When knitting flat, you can create stockinette stitch by knitting one row, then purling the next row, then repeating those two rows. If you’re working in the round, you get stockinette stitch by knitting every round. This creates a flatter fabric that is often used for hats, sweaters, mittens, etc. It is not reversible, the side showing purl stitches is usually the wrong side, although some may like showing it as a design element or for a “princess sole” on socks for those with sensitive feet. It’s also worth noting that stockinette stitch has a tendency to curl, which is one reason why most garments with this stitch use a garter stitch, seed stitch, or ribbed edge.
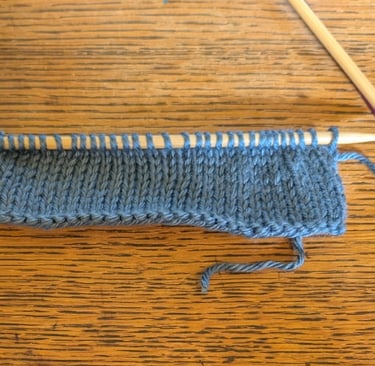
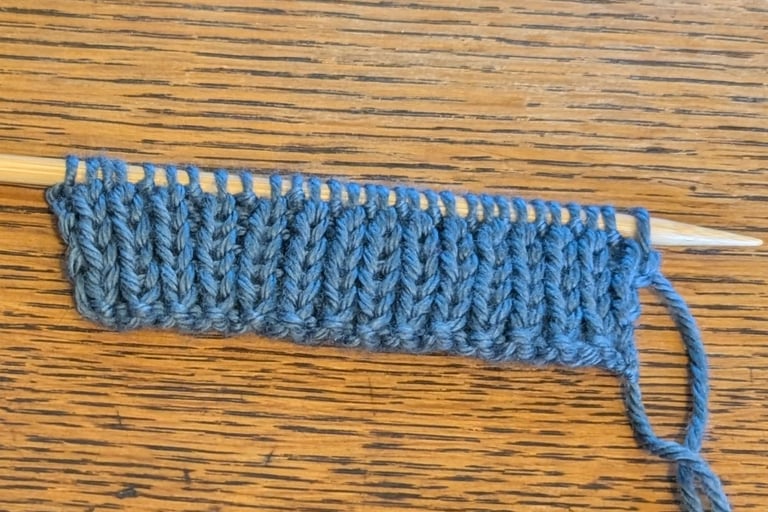
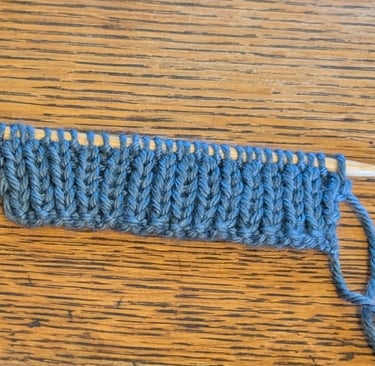
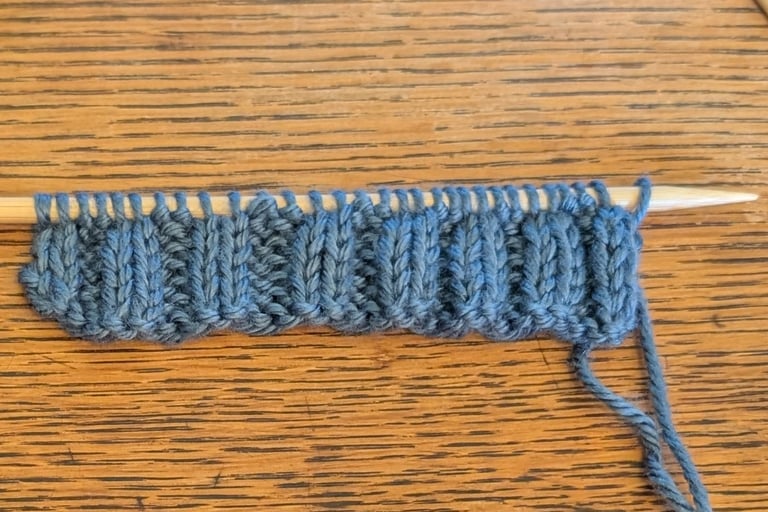
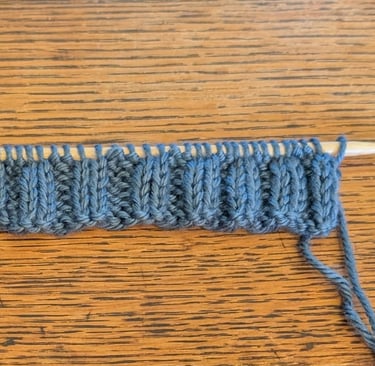
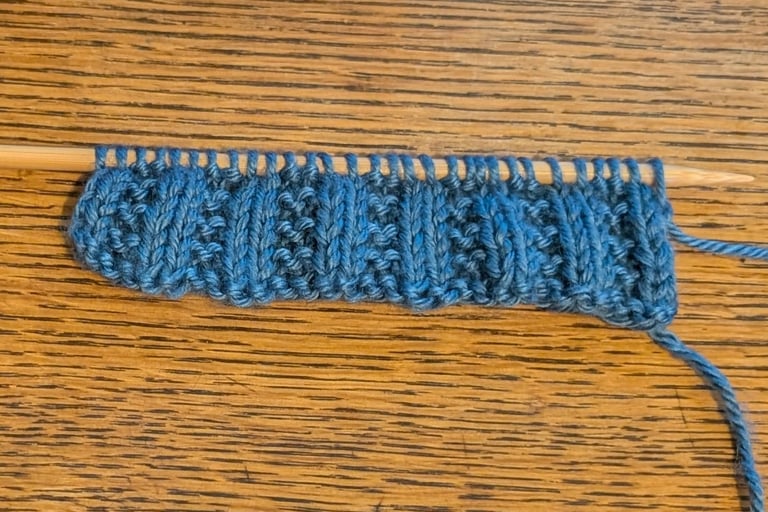
Ribbing
Ribbing is usually done 1x1, meaning one knit, then one purl, and repeat (shown in the first picture), or 2x2, meaning two knits, then two purls, and repeat (shown in the second picture). In both ways, you continue the pattern in the next rows. That is, you knit the knit stitches and purl the purl stitches. It makes a fabric that tends to condense when not being stretched. This property makes it ideal for the brim of a hat, cuffs on a sleeve, and the bottom edge of sweaters.
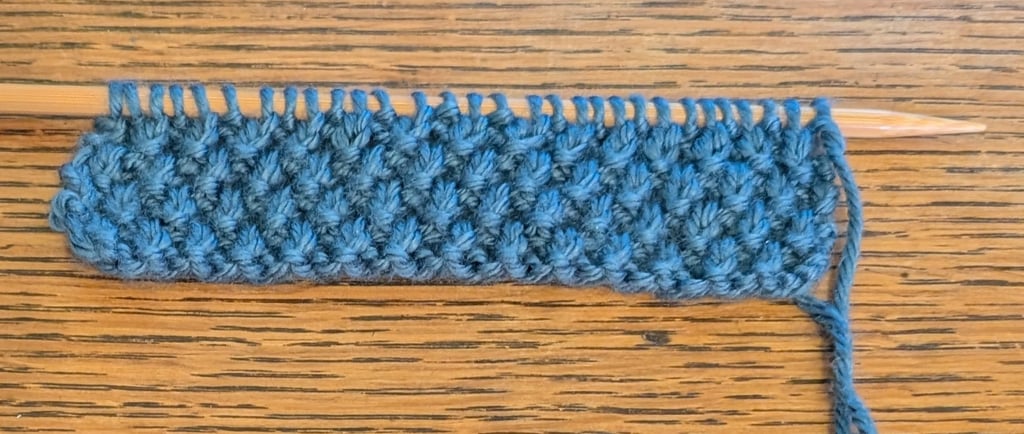
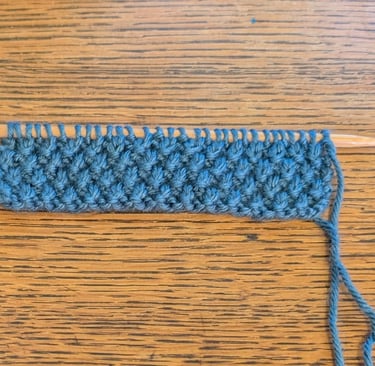
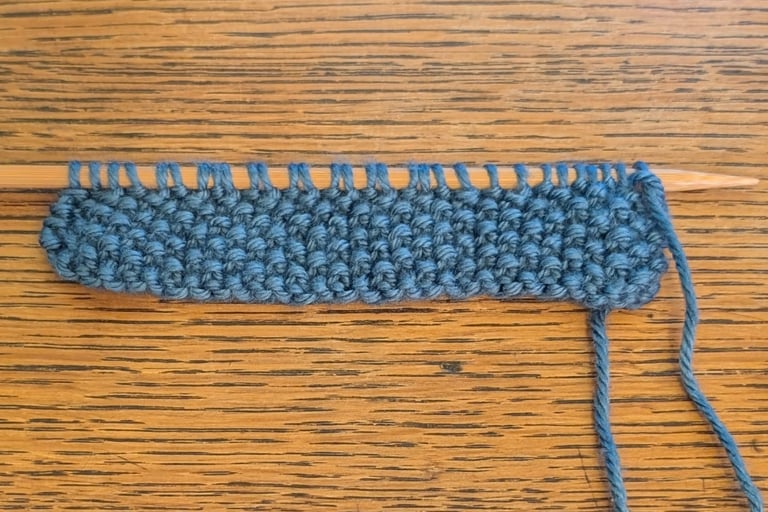
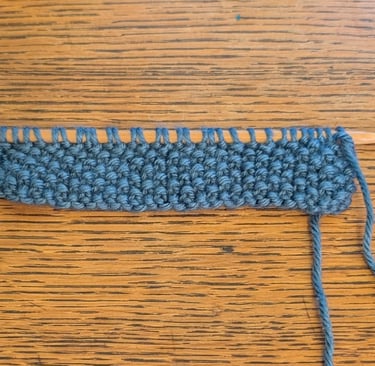
Seed Stitch
Seed stitch is done by alternating knit and purl stitches. The difference between ribbing and seed stitch is that you alternate the stitches in the next row as well, meaning you knit the purl stitches and purl the knit stitches. This gives the fabric a bumpy texture with the purl bumps sticking out.
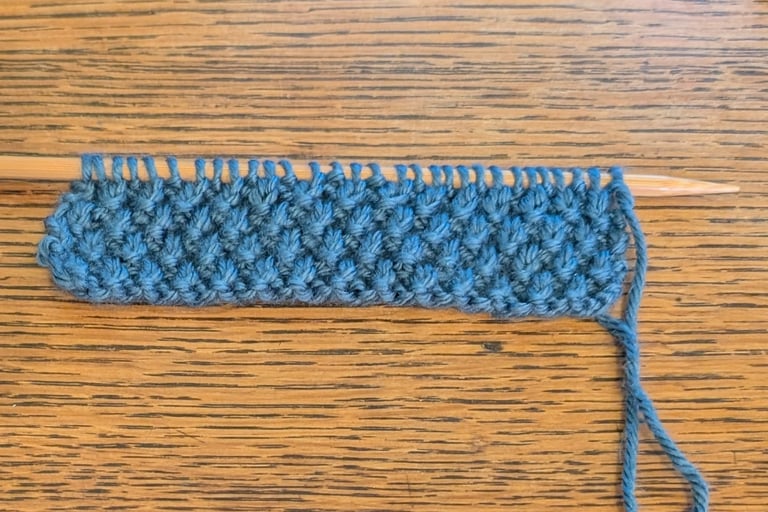
Moss Stitch
Moss stitch is similar to seed stitch in that you alternate knit and purl stitches; however, you do two rows of the same stitch, then two rows of the opposite, instead of alternating every row.
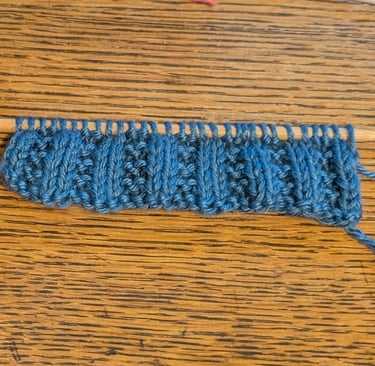
Broken Rib Stitch
This is similar to ribbing, but every other row, you will knit all the stitches. The biggest difference is that there is a right side and a wrong side.
Other Ideas
These six stitch patterns barely scratch the surface of what kinds of patterns you can make with just knits and purls. You can draw all kinds of shapes, write letters and words, or let your imagination go wild! Once you have the hang of some of these patterns, you might want to try out an illusion knitting pattern. Illusion knitting involves knitting simple stripes and using knits and purls to create hidden shapes that are only visible at certain angles. I would love to see what kinds of patterns you come up with! If you feel like sharing, send me an email using the form below, I’d love to see your work! Happy stitching!