Portuguese Knitting
Learn the basics of the Portuguese style of knitting
11/17/20255 min read
Have you tried Portuguese knitting? Many knitters haven’t even heard of this style of knitting! In case you missed my presentation at the Knit Happy Summit, here are the basics of Portuguese knitting.
The Setup
While traditionally Portuguese knitting was done with hooked knitting needles, you can use any regular knitting needles for this technique. If you’re using a knitting pin, you should clip it next to your collarbone on the left side. If you’re not using a pin, bring your working yarn behind your neck so that the end connected to your project is on the left side, and the end connected to the skein is on the right. Hold the yarn on the right side with your right hand in a way that feels best to you to keep the yarn taut, but allow it to flow.


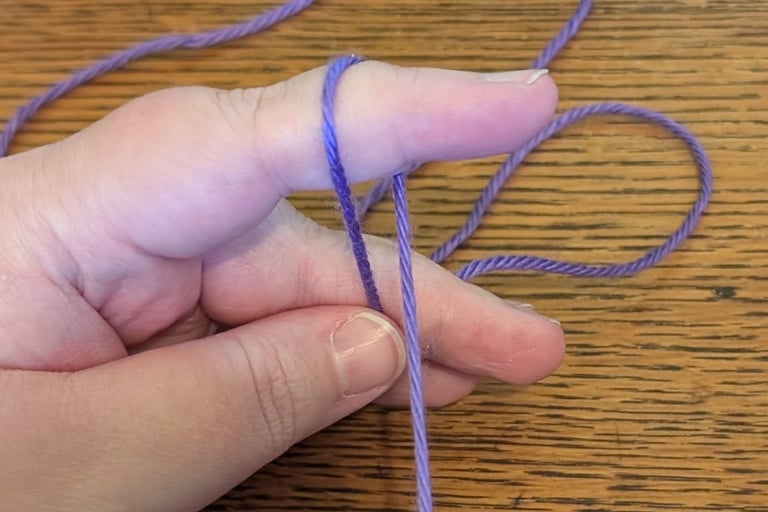
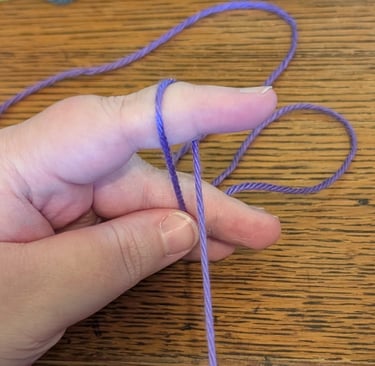
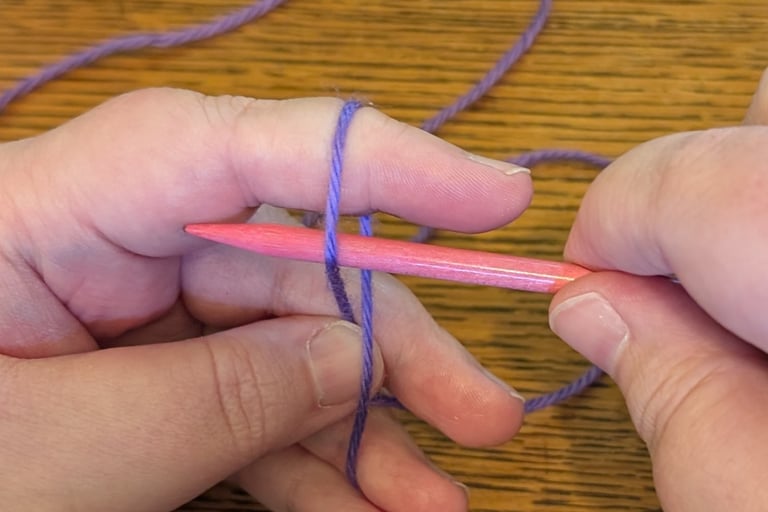
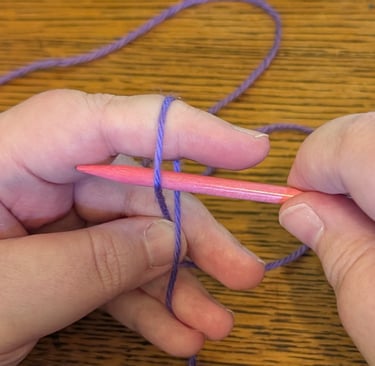
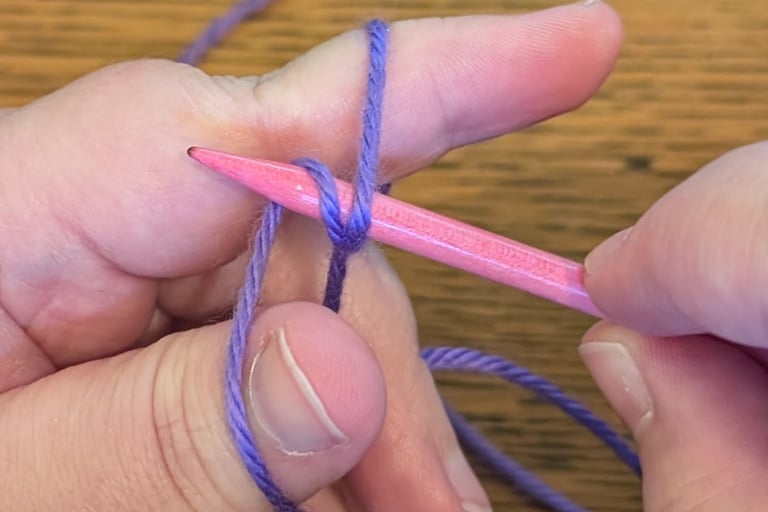
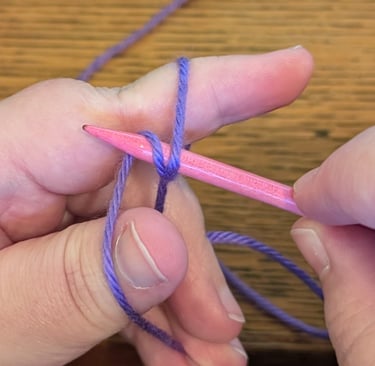
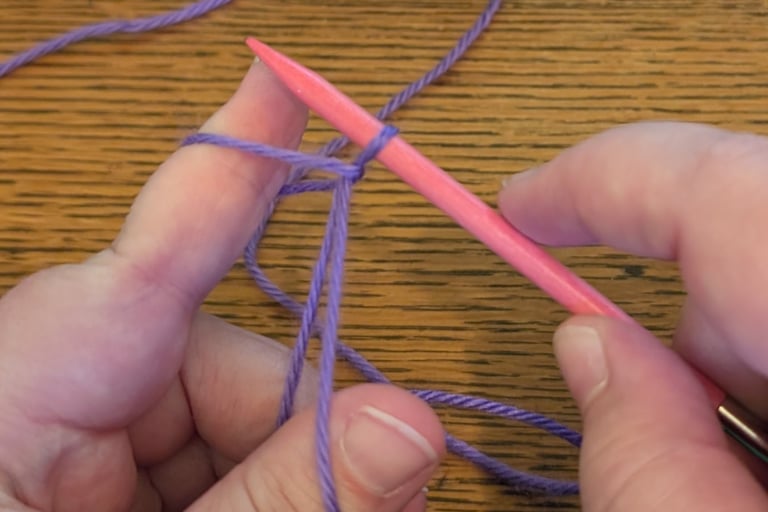
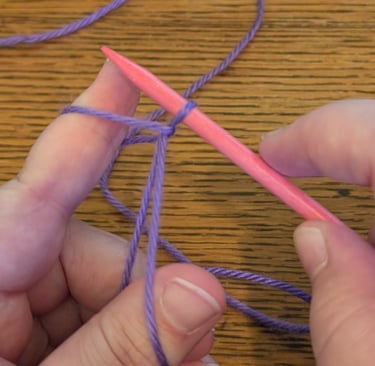
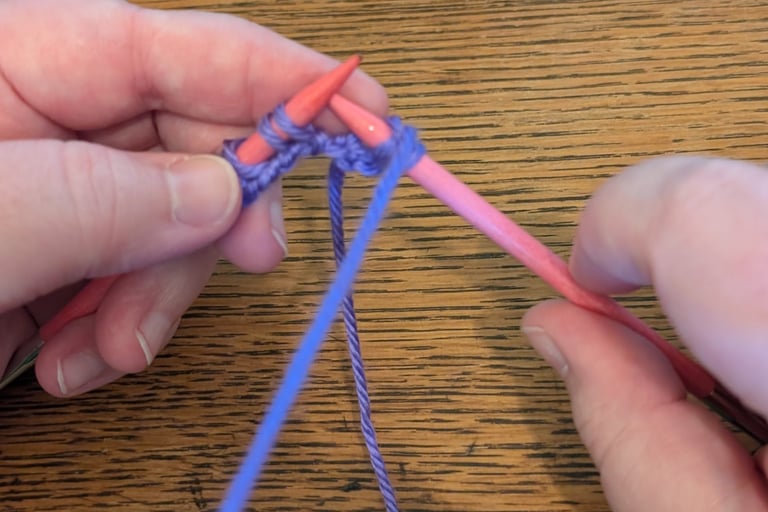
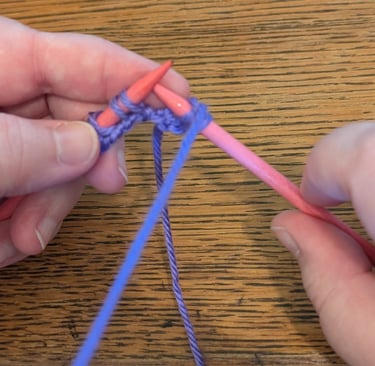
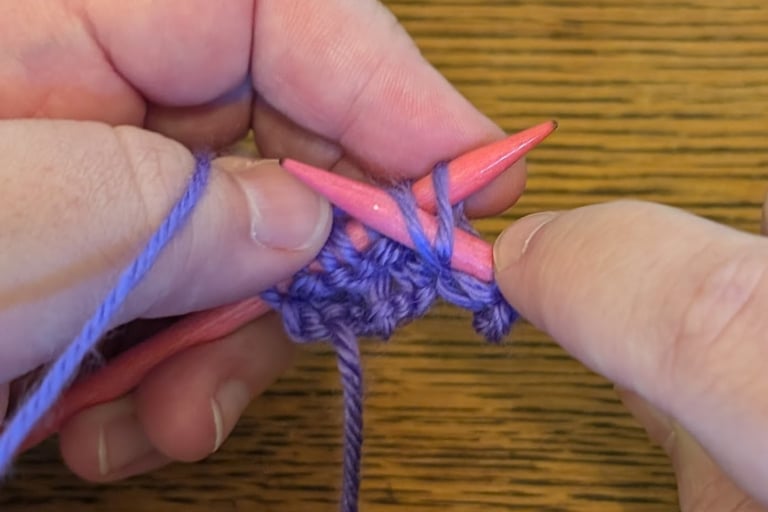
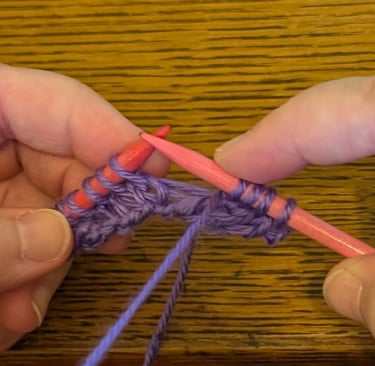
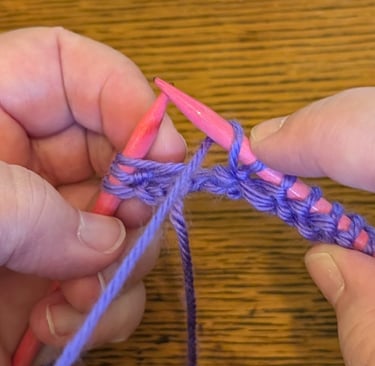
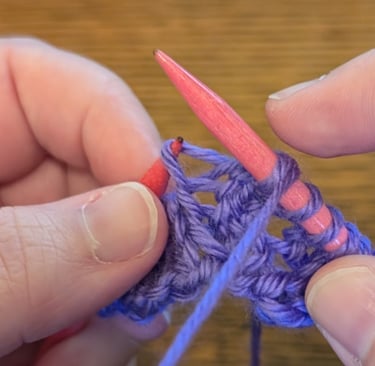
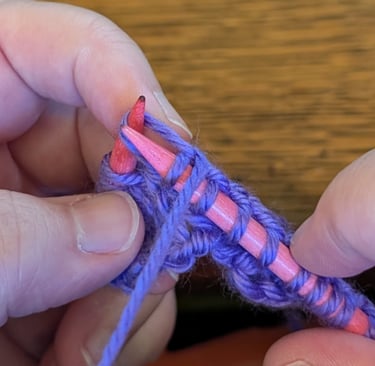
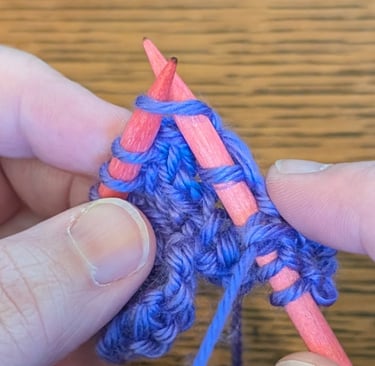
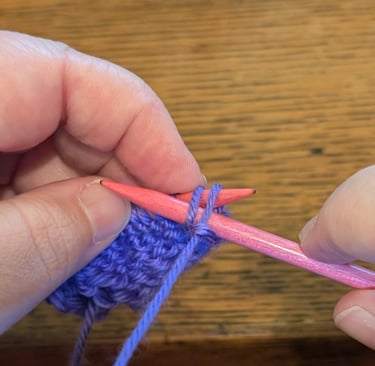
Cast On
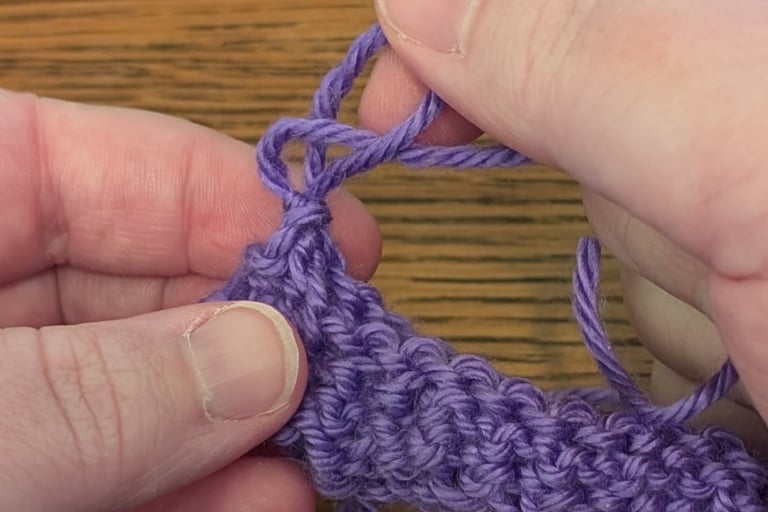
Leaving a long tail, make a loop around your left index finger, like in the first picture below. Insert your needle into this “loop.” Use your left thumb to wrap the working yarn around the needle. Scoop the yarn through the loop. Let go, and tighten up the stitch. Repeat for the number of stitches you need for your project.
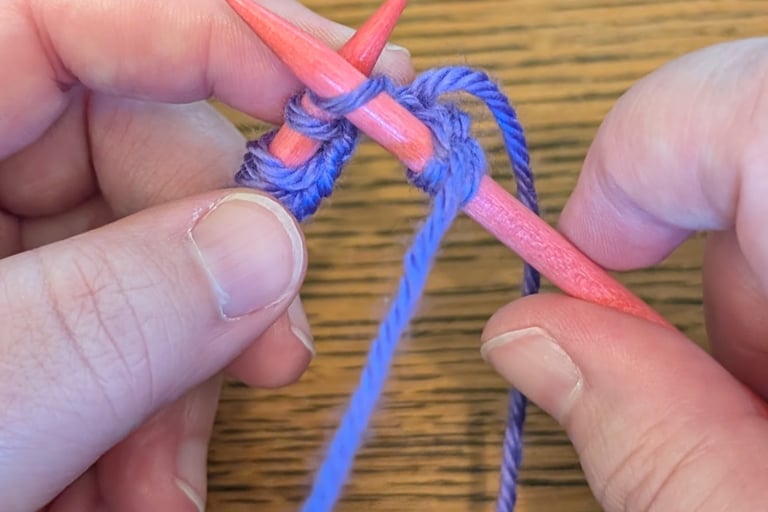
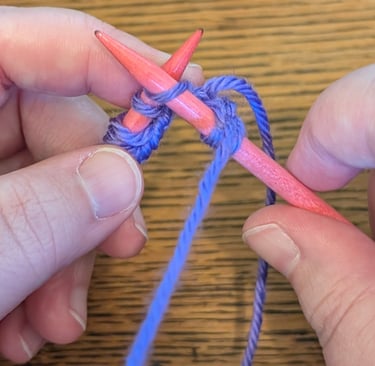
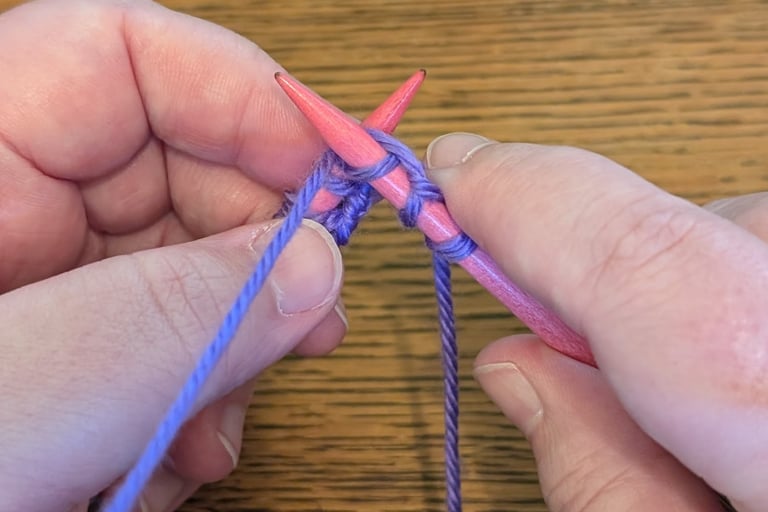
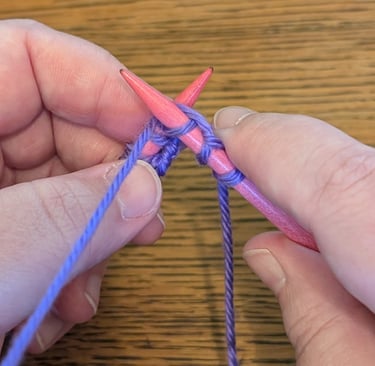
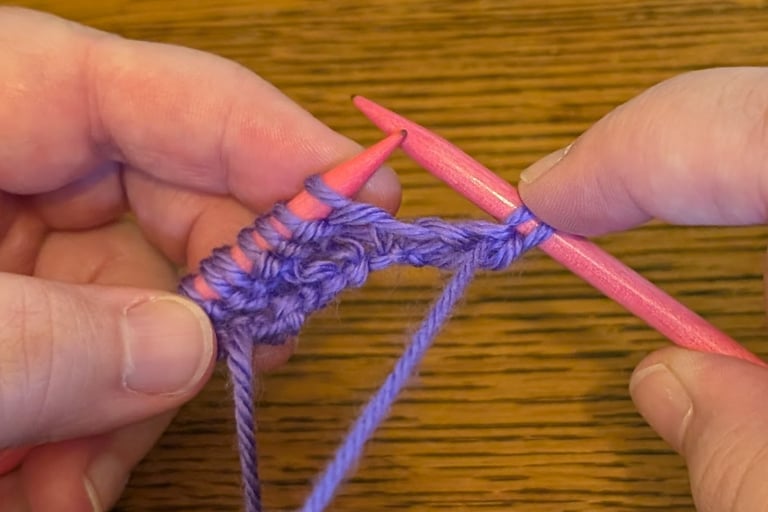
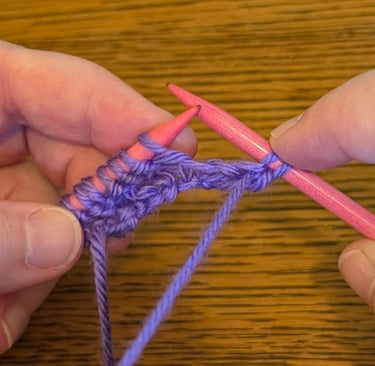
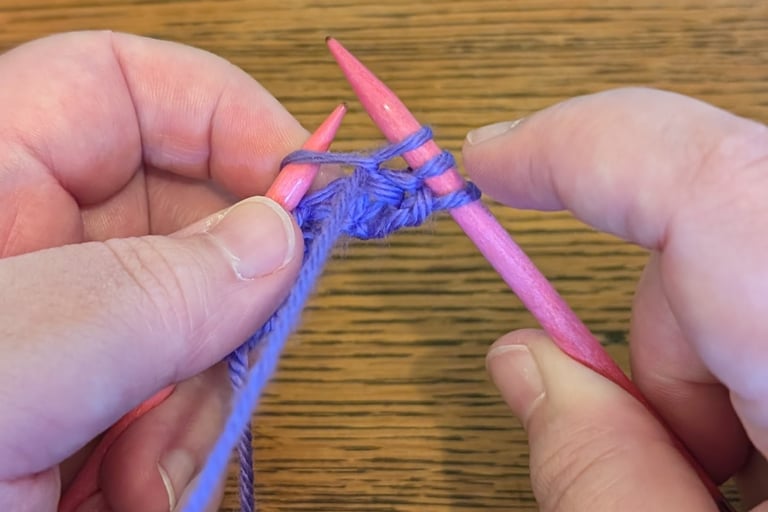
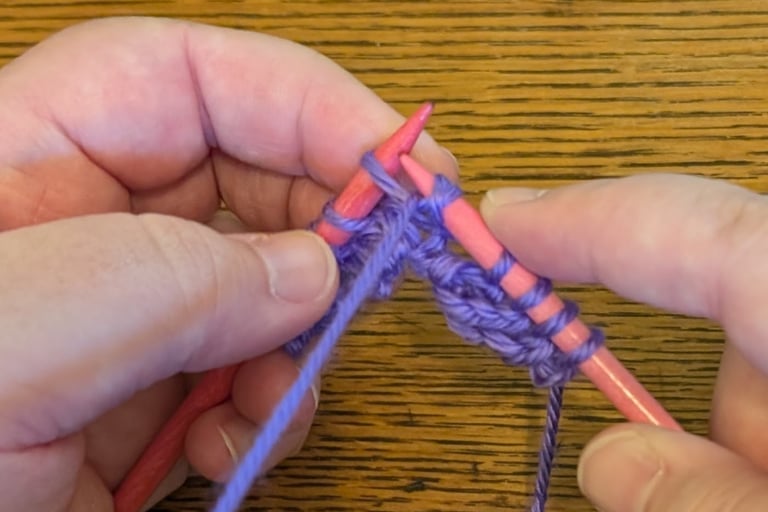
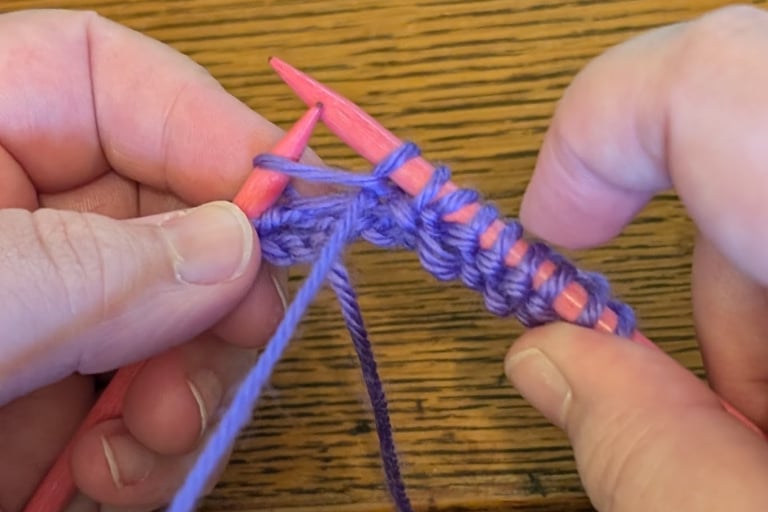
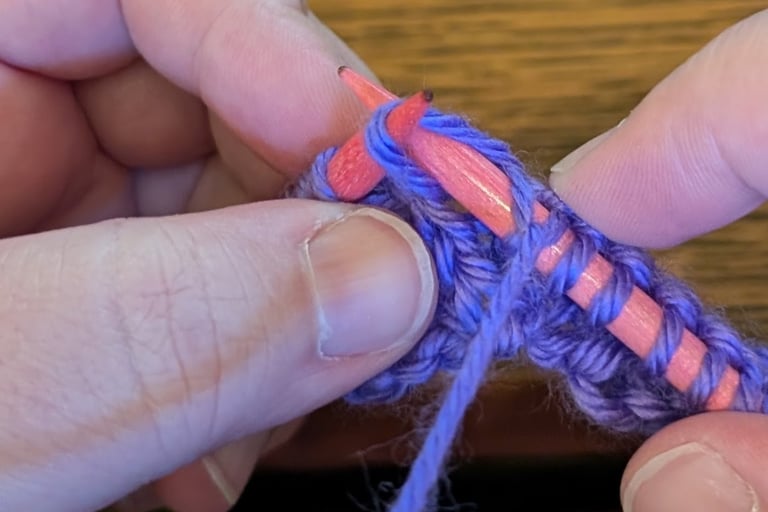
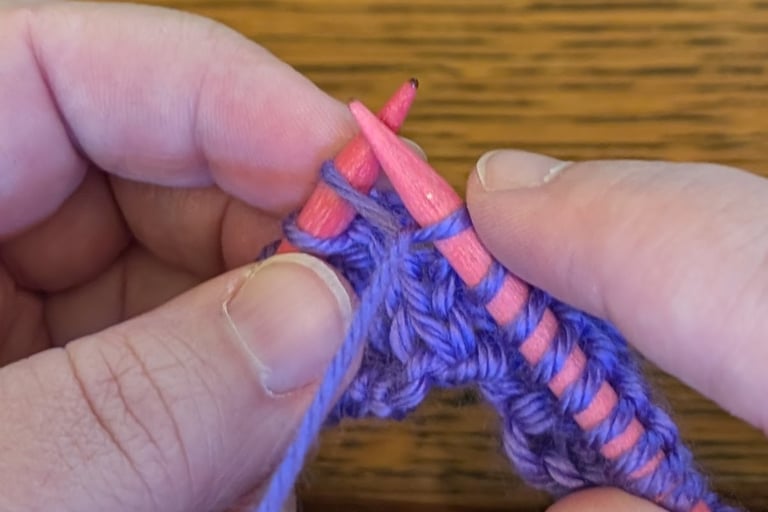
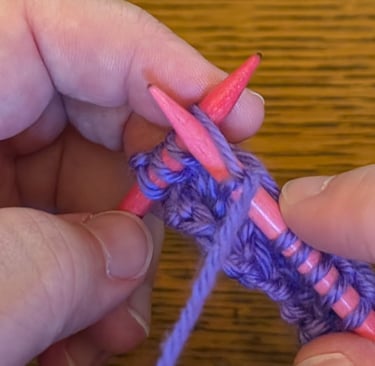
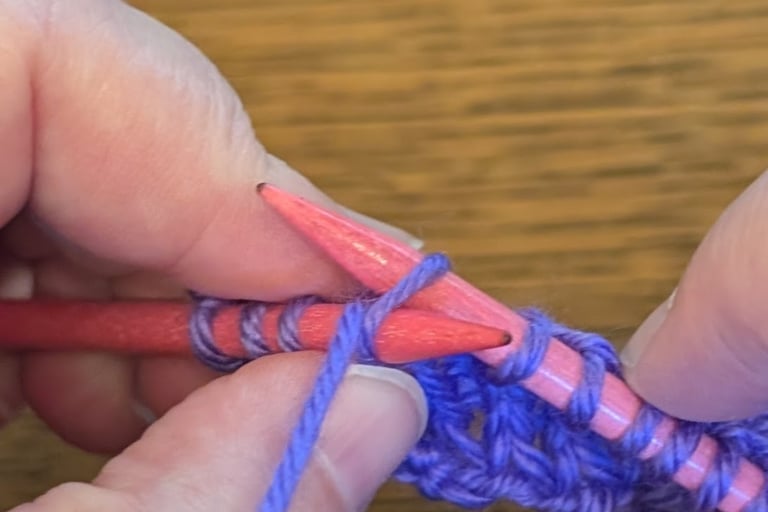
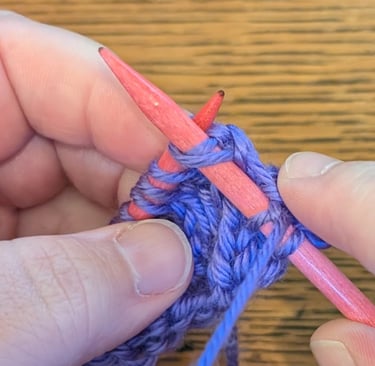
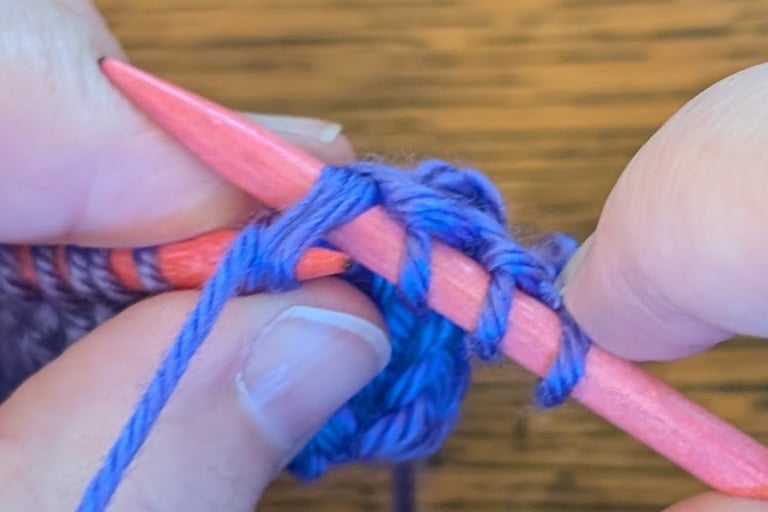
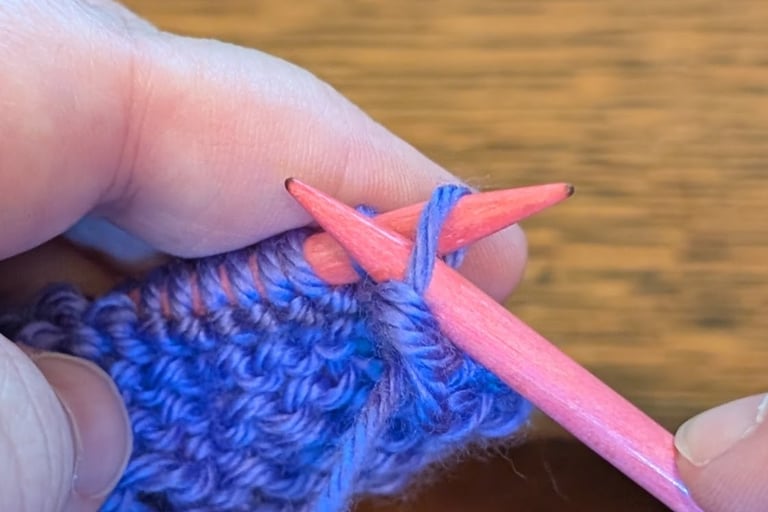
Knit Stitch
Make sure the working yarn is behind the right needle. Insert the right needle into the next stitch IN FRONT OF the left needle. Use your left thumb to push the working yarn in between the two needles. Scoop the yarn through the loop and drop off the old stitch.
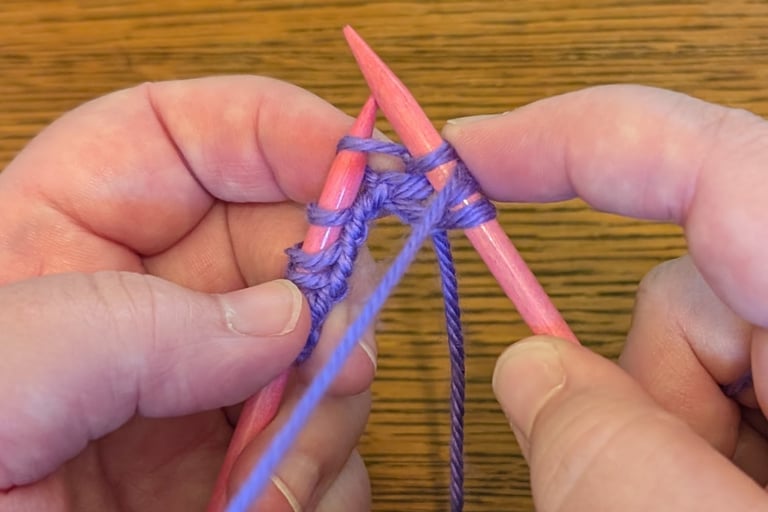
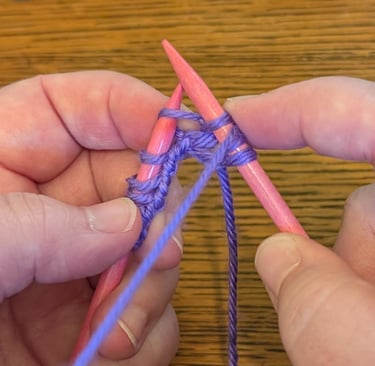
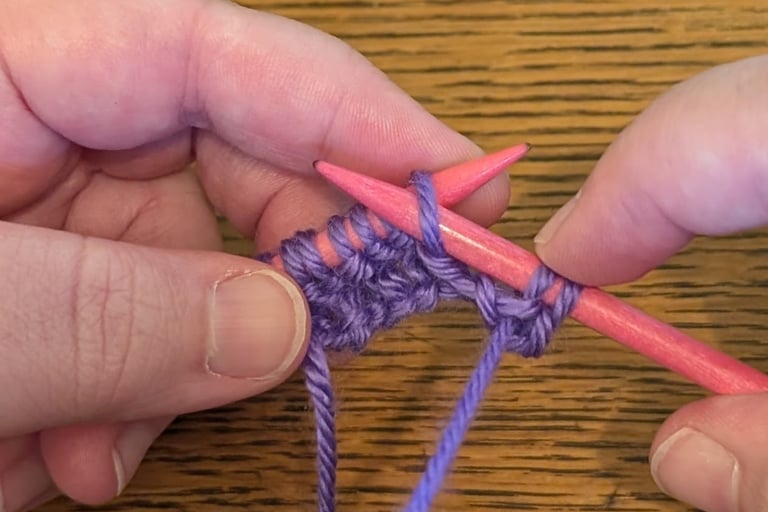
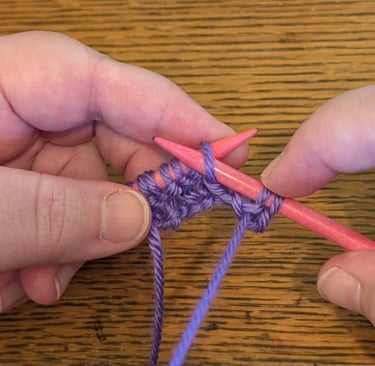
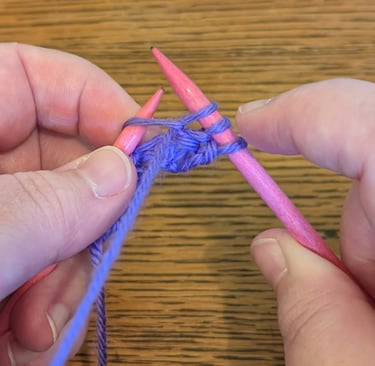
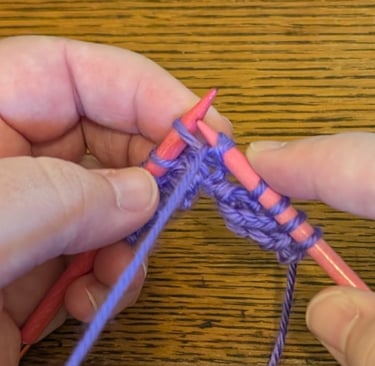
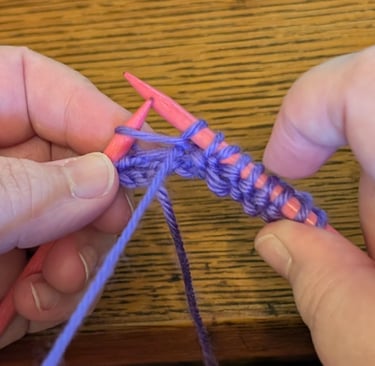
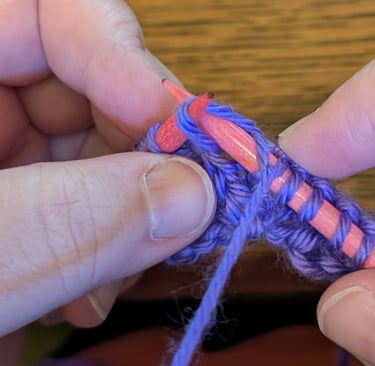
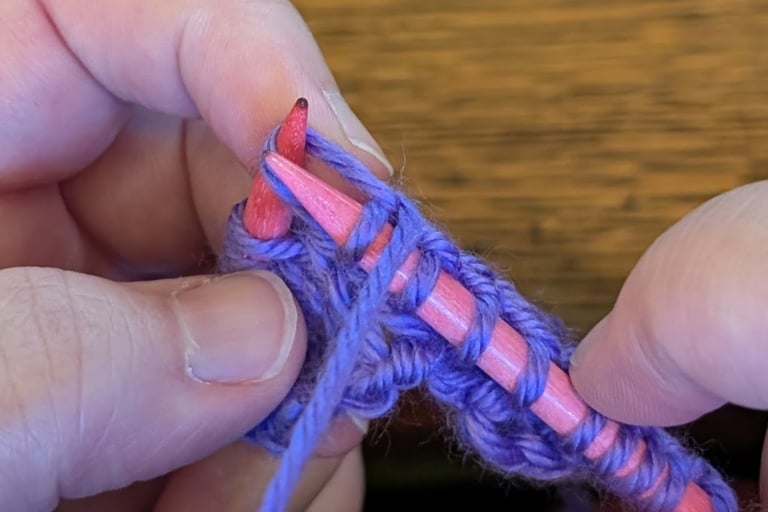
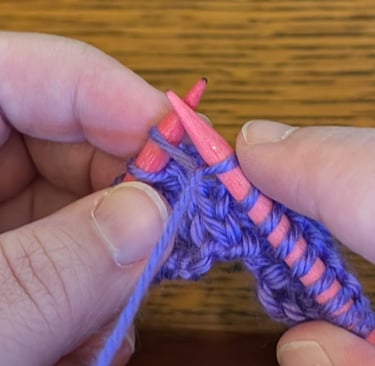
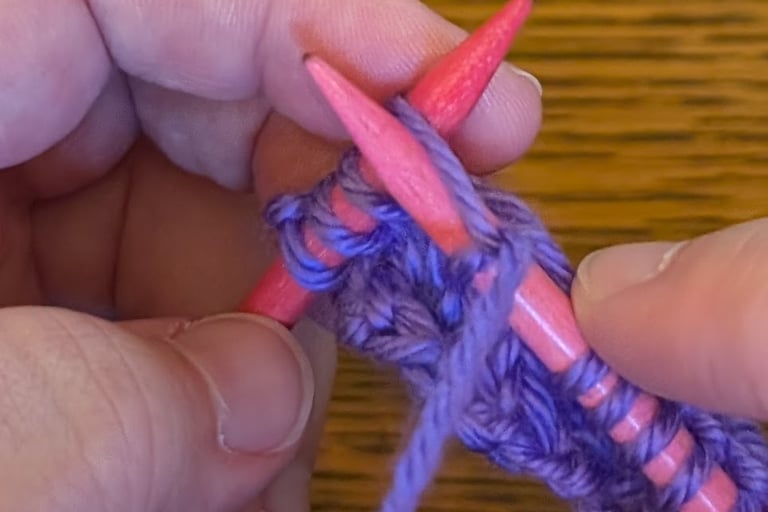
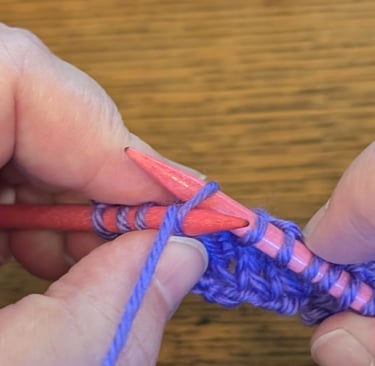
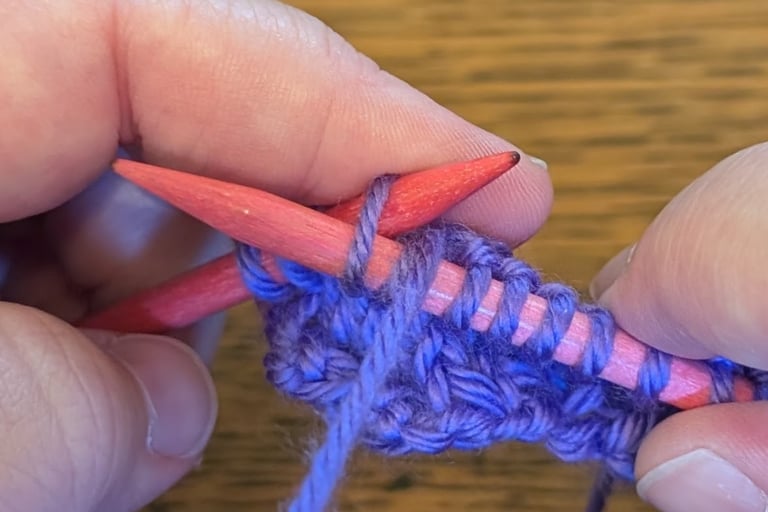
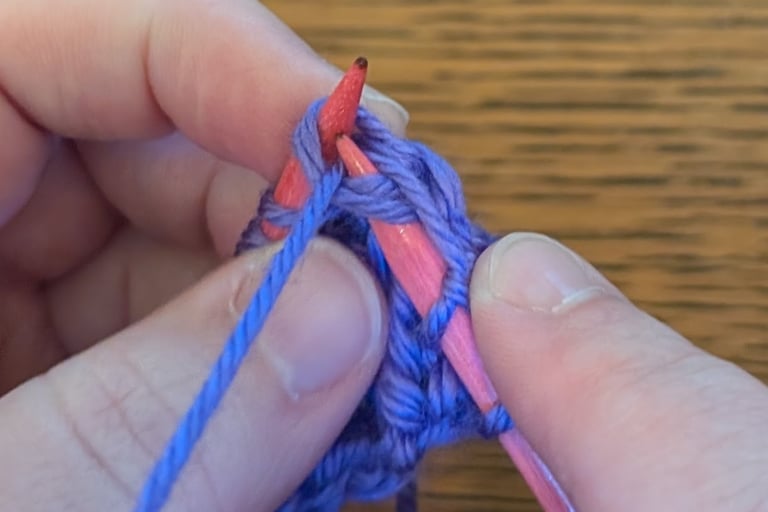
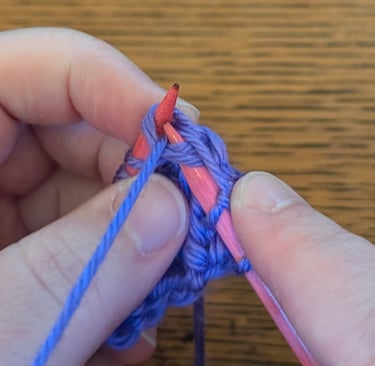
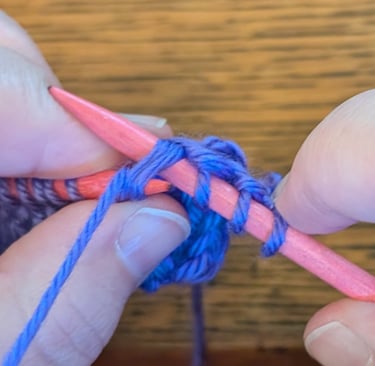
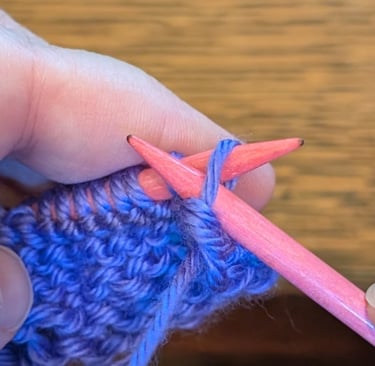
Purl Stitch
Make sure the working yarn is in front of the needles. Insert the right needle into the next stitch purlwise. Use your left thumb to wrap the working yarn over the right needle. Scoop the yarn through the loop and drop the old stitch off the needle.

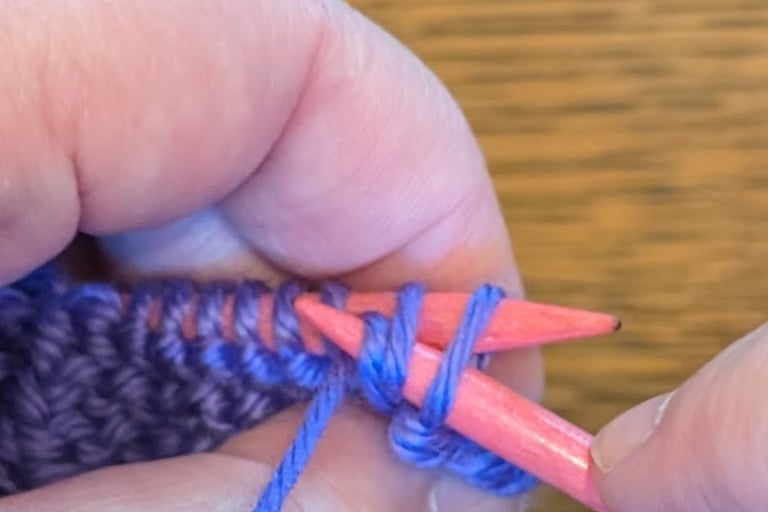
Yarnover
To do a yarnover between two knit stitches, bring the yarn forward, then knit the next stitch like normal.
To do a yarnover between two purl stitches, wrap the working yarn over the right needle, then purl the next stitch like normal.
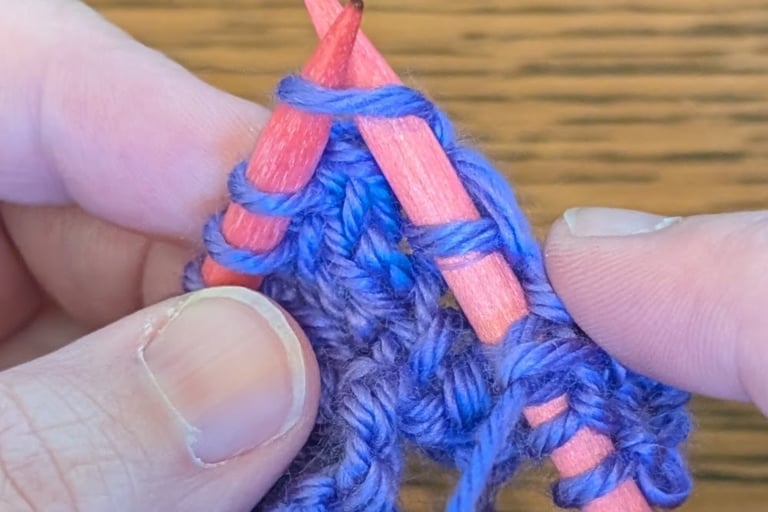
Right Lifted Increase
Lift the right leg of the stitch below the next stitch on the left needle. Place it on the left needle. Knit into this leg, then knit the next stitch like normal.
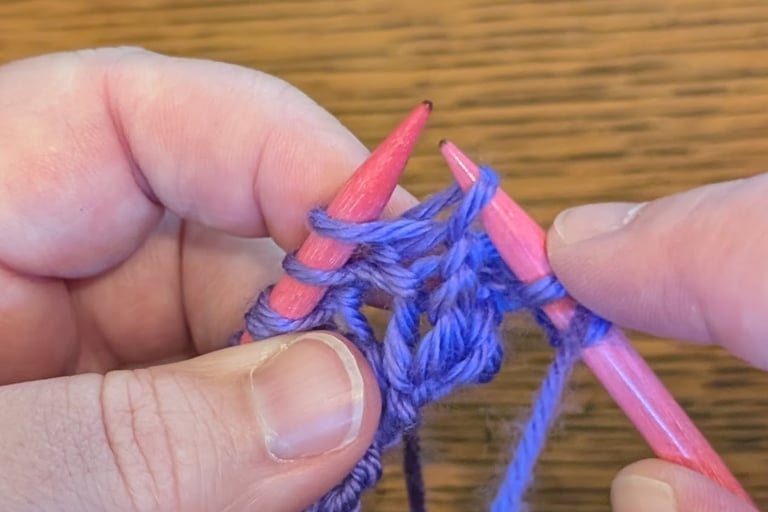
Left Lifted Increase
With the left needle, lift the left leg of the stitch two rows below the stitch just worked. Insert the right needle through the back loop. Scoop the working yarn through this leg, then knit the next stitch like normal.
Knit Front and Back
There are two methods of doing this stitch, one results in a purl bump under the second stitch, while the other does not. For the first method (with a purl bump), knit into the front loop without dropping the old stitch. Then, knit into the same stitch through the back loop.
To do the second method (without a purl bump), knit into the front loop without dropping the old stitch. Then, insert the right needle into the same stitch purlwise and drop it off the left needle.

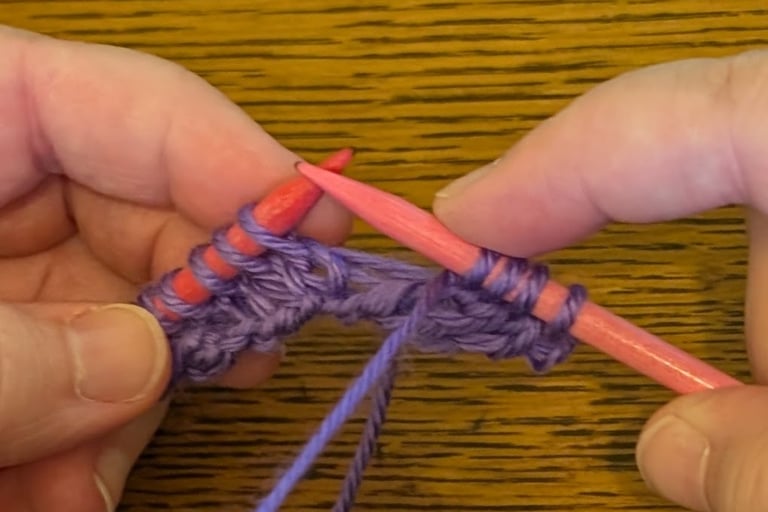
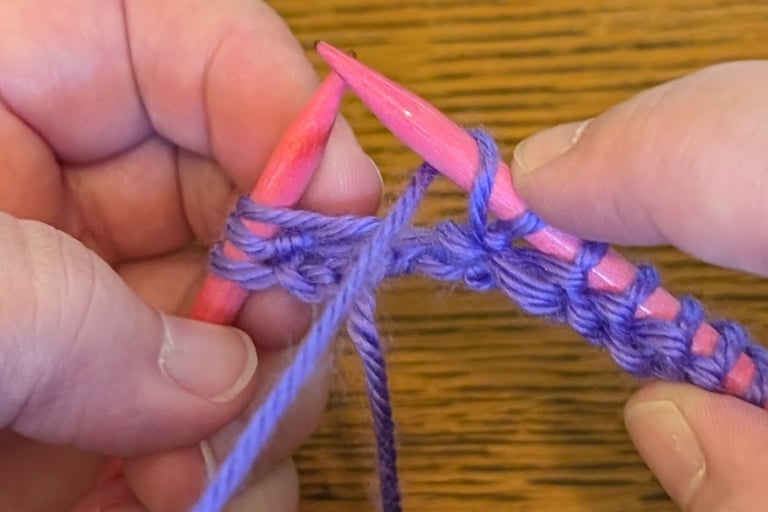
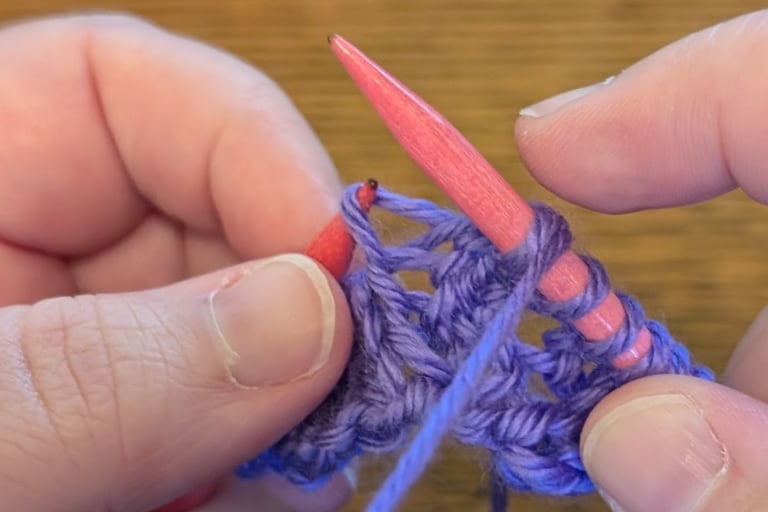
Bind Off
Note that this bind off is done on the purl side. First, purl the next two stitches together. Place the stitch just worked back onto the left needle. Purl that stitch and the next stitch together. Repeat until you have one stitch left. Cut a long tail and thread it through the last loop.
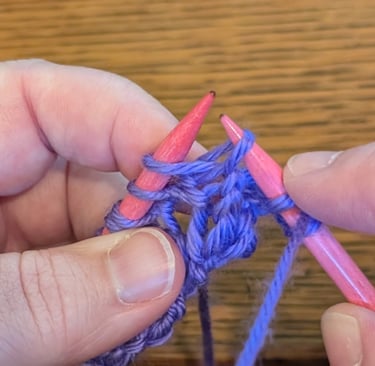
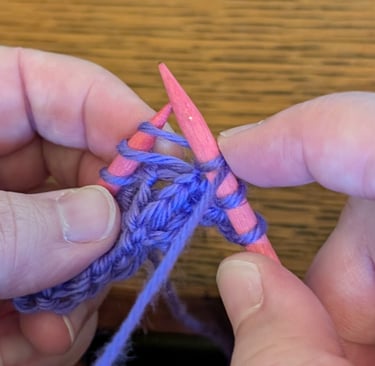
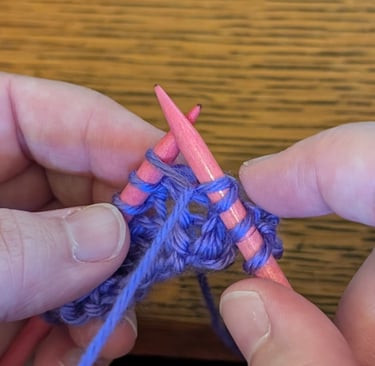
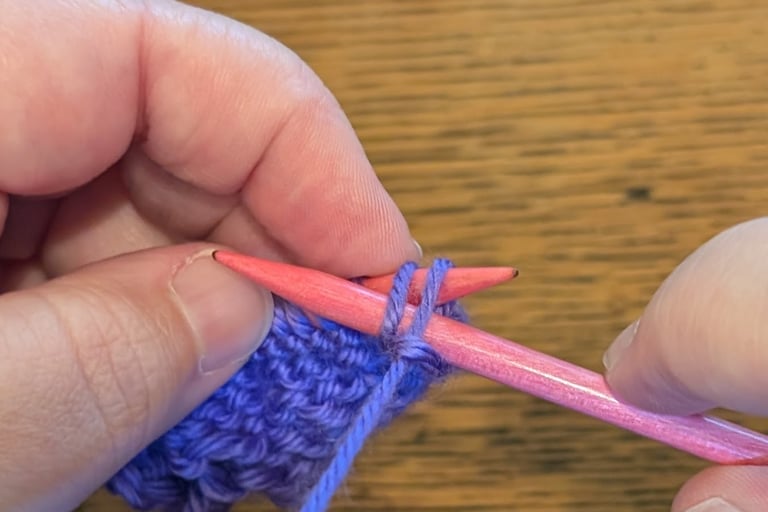
Knit Two Together
Insert the right needle into the next two stitches knitwise, then knit them together.

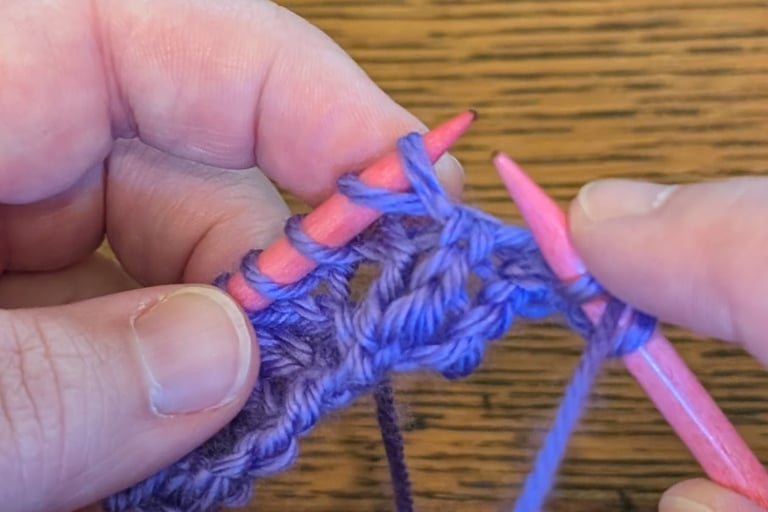
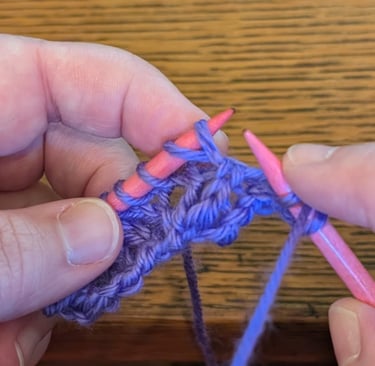
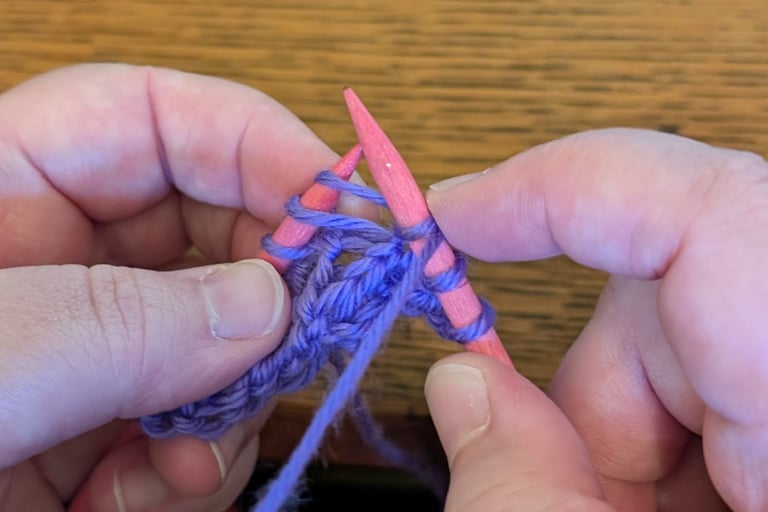
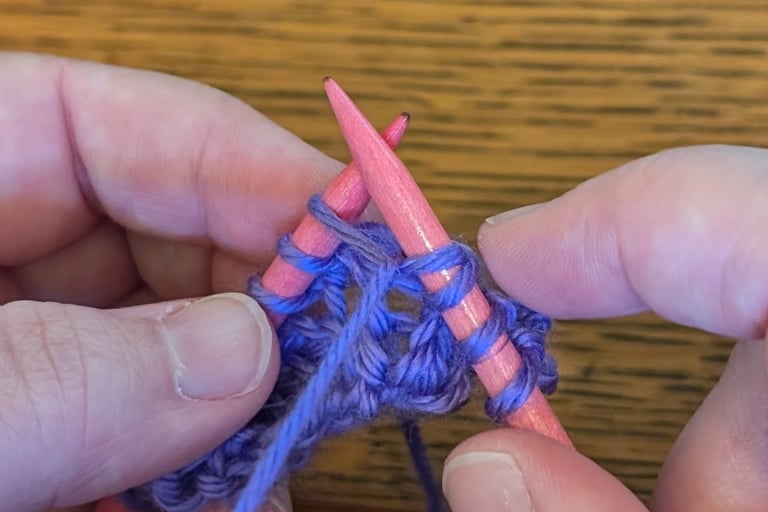
Slip Slip Knit
Slip the next two stitches, one at a time, knitwise. Insert the left needle into the slipped stitches and knit them together through the back loop.


Tips
Keep your hands at a good, comfortable distance; this will minimize your movements. Keep the yarn flowing, but taut enough to keep an even tension. Take your time to practice this technique and show yourself grace when you make mistakes. Make your gauge swatches in the same way that you will be knitting the project to get accurate measurements. For further reading, check out The Portuguese Style of Knitting by Andrea Wong. Download a Portuguese knitting cheat sheet here! Happy stitching!