Knitting Short Rows
Learn several methods for knitting short rows for shaping and design
7/28/20254 min read
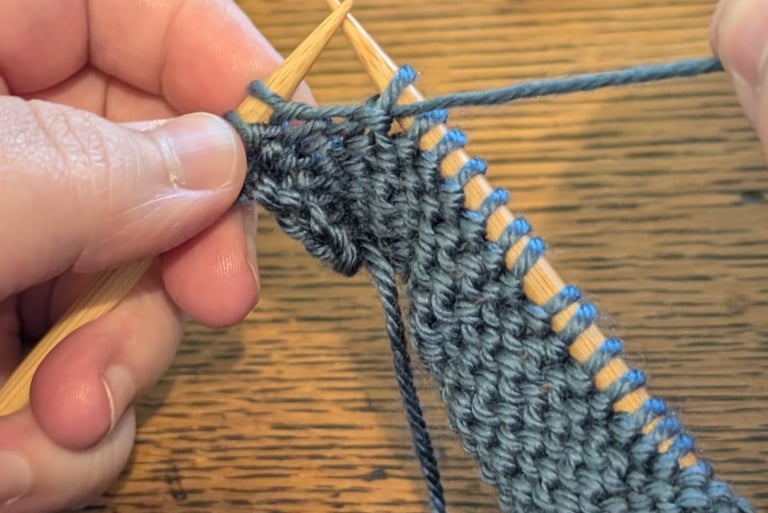
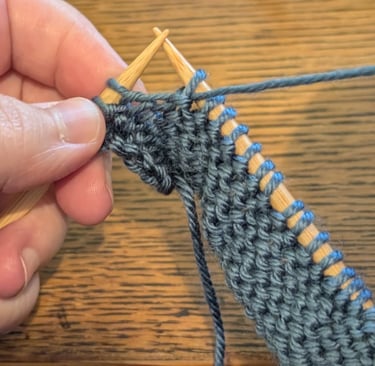
Short rows can seem intimidating at first, but they really are just rows that are shorter than the previous row. They are often used for shaping garments or sometimes as design elements. However, if you simply turn your work mid-row and start working in the other direction, there will be a hole or gap in the fabric. There are several methods to ensure you don’t get a gap.
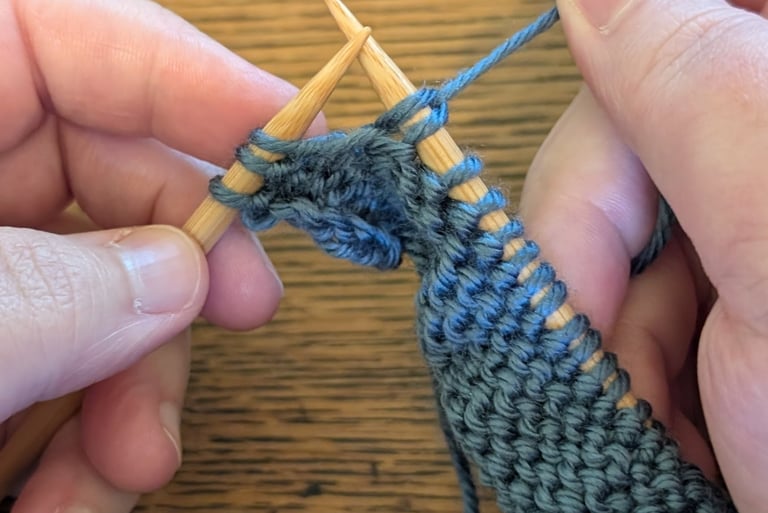
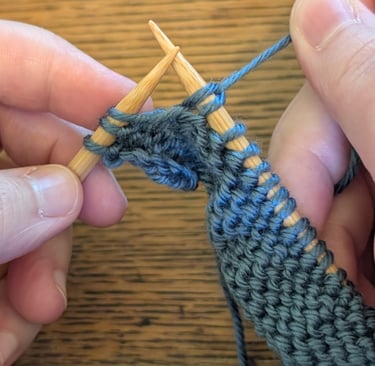
Wrap and Turn
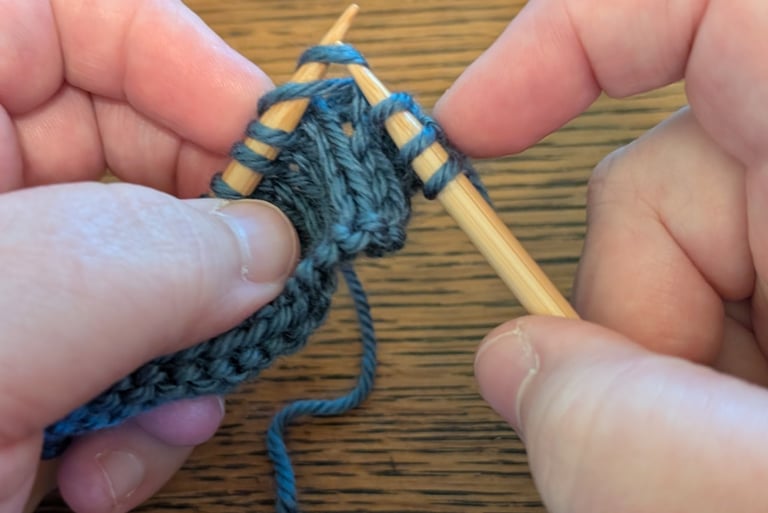
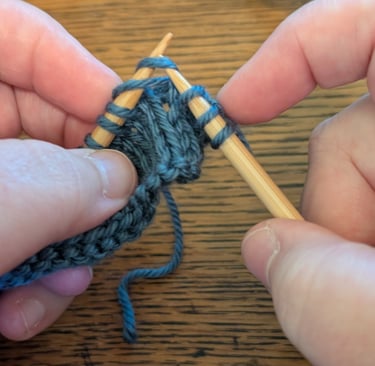
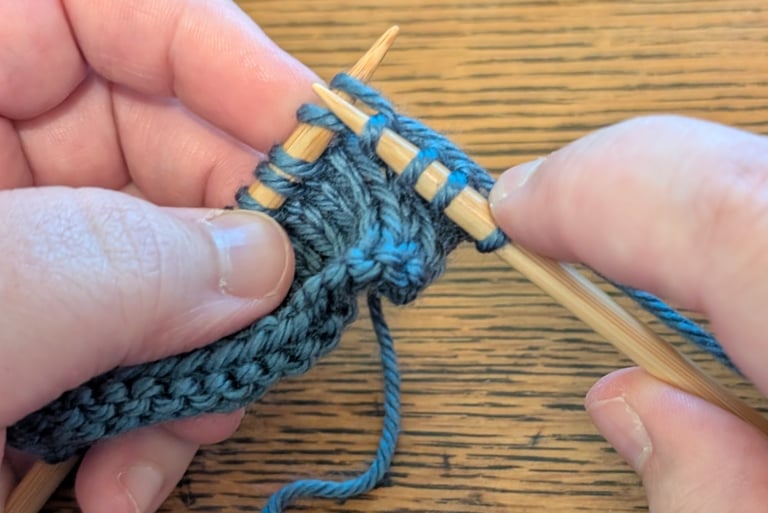
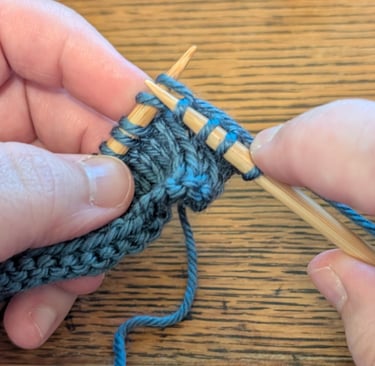
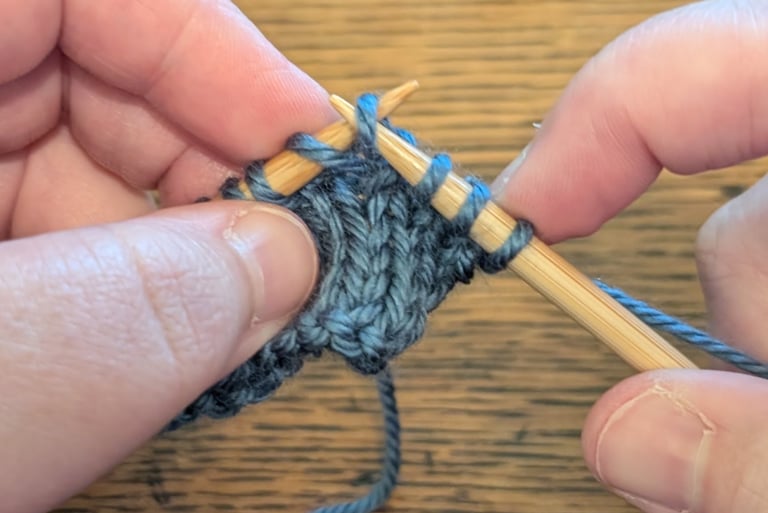
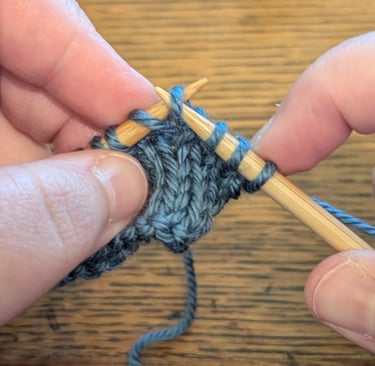
For the wrap and turn method, on the knit side, knit to the turning point. Then, slip the next stitch purlwise. Bring the yarn to the front of the work and slip the last stitch back to the left needle. Now you can turn your work and purl on the other side. When you reach the next turning point, slip the next stitch purlwise. Then, bring the yarn to the back of the work and slip the last stitch back to the left needle. Essentially, this wraps the working yarn around the next stitch, preventing the gap. When you reach the wraps on the next row, knit or purl the wrap together with the wrapped stitch.
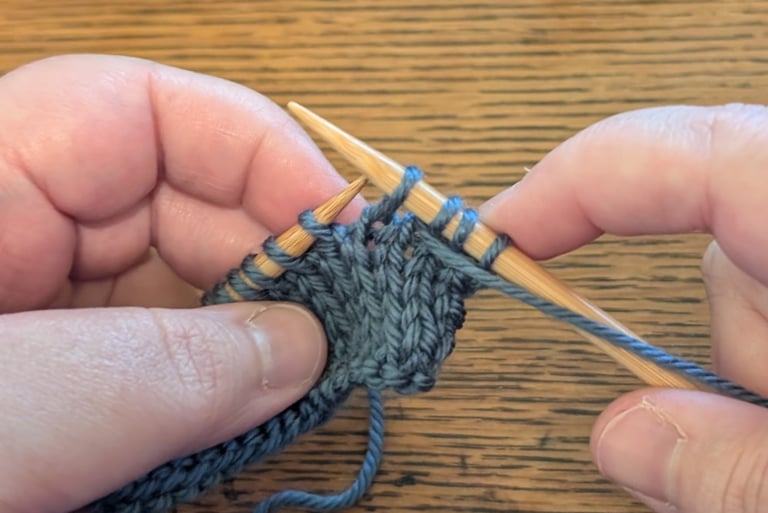
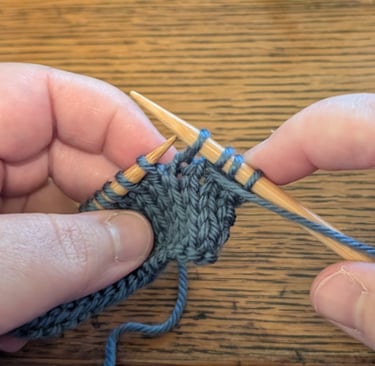
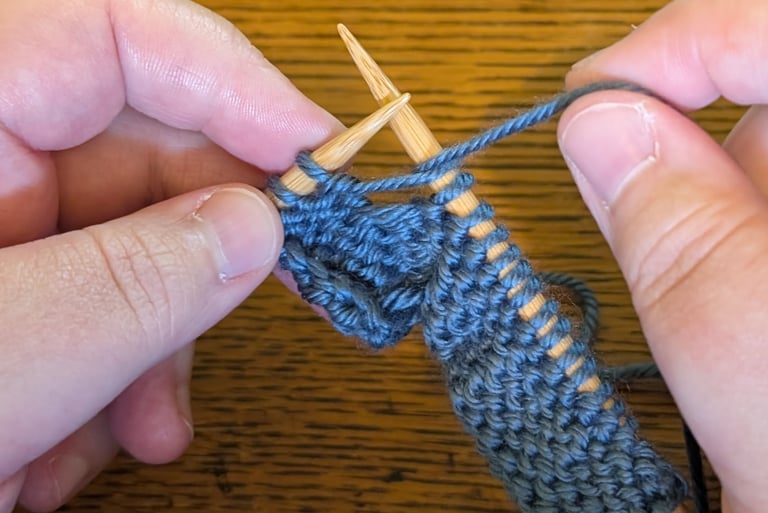
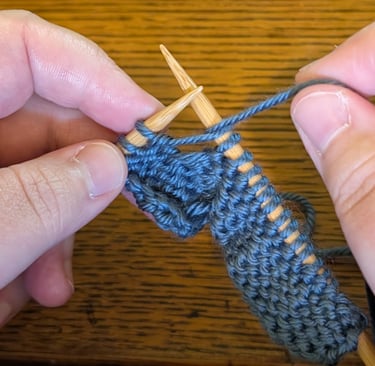
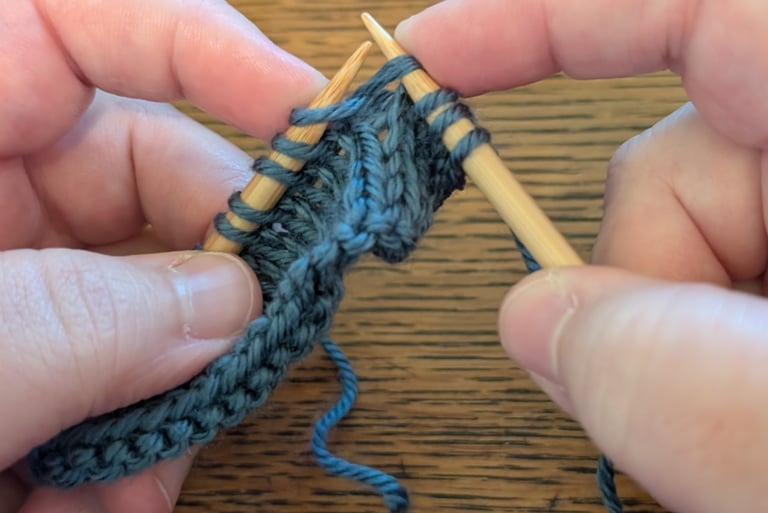
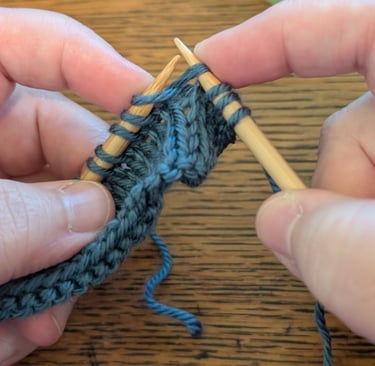
Yarn Over
To do the yarn over method, knit or purl to the turning point, and turn your work. Make a yarn over onto the right needle, then knit or purl in the other direction. When you get back to the yarn overs in the next row, knit them together with the next stitch to close the gap.
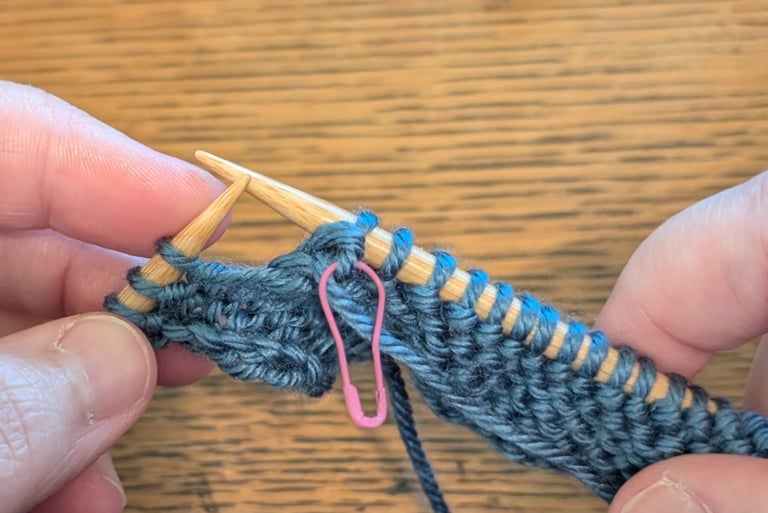
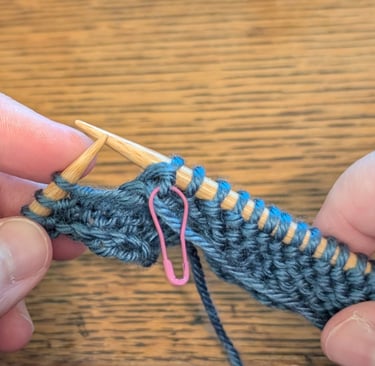
Japanese Short Rows
For this method, once you reach the turning point, put a locking stitch marker on the working yarn before continuing in the opposite direction. When you get to the stitch marker in the next row on the knit side, pull the “stitch” from the marker onto the left needle and knit it together with the next stitch. On the purl side, lift the “stitch” from the marker onto the left needle, and do a ssp with it and the next stitch. That is, slip the two stitches, one at a time, knitwise, place them back on the left needle, then purl them together through the back loops.
German Short Rows
This method is a bit different in that you work one stitch beyond the turning point. Turn your work and with the yarn in front, slip the last worked stitch purlwise to the right needle. Bring your working yarn over the needle to the back of the work, so that the two legs of that stitch show up on the needle (this is called a double stitch). If you’re on the knit side, you can leave your yarn in the back and continue knitting. If you’re on the purl side, bring the yarn to the front in between the needles. When you get to the double stitch on the next row, simply knit or purl the two legs together as one stitch.
Twin Stitch/Shadow Wrap
When you reach the turning point, you will create a “twin stitch” by lifting the right leg of the stitch below the next stitch onto the left needle. Knit into the leg you just lifted and, without twisting it, place it onto the left needle. Then you can turn and purl in the other direction. To create a twin stitch on the purl side, insert the right needle into the purl bump of the stitch below the next stitch on the left needle. Purl into it and place it onto the left needle. Then, turn the work and knit in the other direction. When you get to the twin stitches on the next row, knit or purl them together.
And there you have it - you've learned several methods for doing short rows. Now you can shape like a pro! If you have any questions or comments about any of these, use the form below to send me an email. Happy stitching!