Knitting Increases and Decreases
Learn multiple methods for increasing and decreasing in knitting
5/19/20254 min read
There are many different ways to increase or decrease in knitting, some methods are better suited for certain projects. Many times, the increases or decreases will slant in a particular direction, and some don’t. Double decreases are also widely used, especially in lace knitting. Here are some commonly used increases and decreases, and how to do them.
Increases
Knit Front and Back
To start this increase, knit into the next stitch like normal, but before you pull the old stitch off of the left needle, knit again through the back loop. This stitch is often abbreviated as kfb and leaves a small purl bump.
Yarn Over
A yarn over is simply exactly what it sounds like: move the yarn over the right needle, creating a new stitch that is not connected to the row below it. This leaves a small hole, which is often used as a decorative element in lace knitting.
Make One
There are two versions of the make 1 increase stitch, one that leans to the right and one that leans to the left.
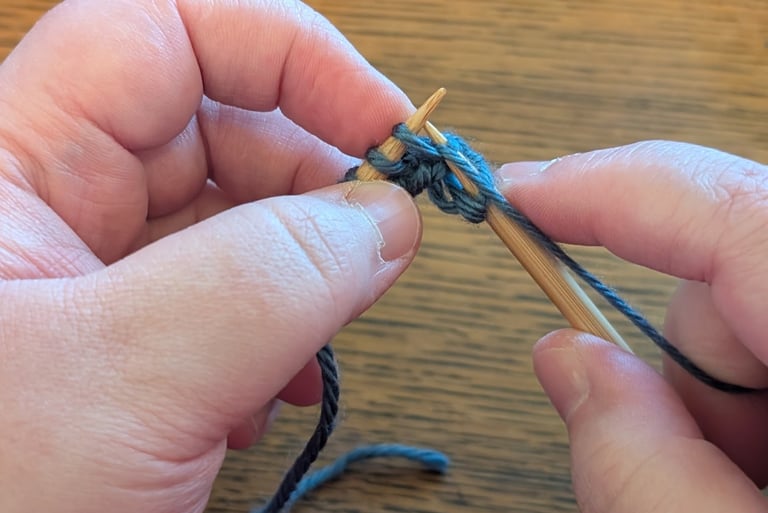
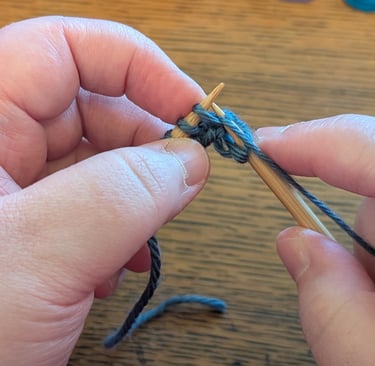
M1R: Insert the tip of the left needle under the horizontal bar of yarn between the stitches from back to front, like in the first picture below, then knit this new “stitch” like normal.
M1L: Insert the tip of the left needle under the horizontal bar of yarn between the stitches from front to back, like in the second picture below, then knit this new “stitch” through the back loop. Lifting the bar in this way is essentially the same thing as doing a yarn over in the previous row, which is typically used when you want an intentional hole in the fabric. Knitting it through the back loop twists the stitch in order to close the hole.
Lifted Increase
This is another increase that can be done leaning in either direction, depending on where you are in the row.
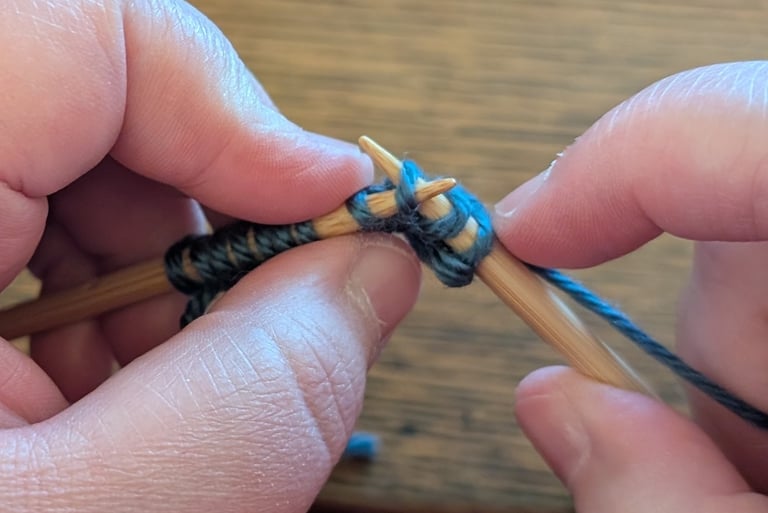
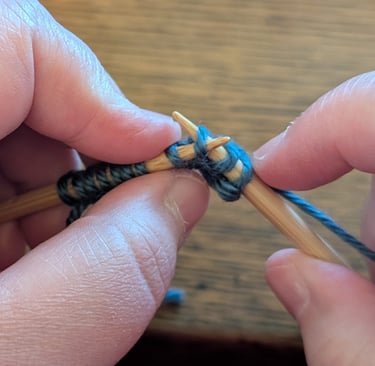
LLI: To do this right-leaning increase, insert your left needle into the stitch two rows below the one you just knitted from back to front, like in the first picture below, then knit it through the back loop.
RLI: Insert your right needle into the stitch in the row below the next stitch on the left needle from back to front, like in the second picture below, and place it on your left needle, then knit it like normal.
Decreases
Knit Two Together
This standard right-leaning decrease is usually abbreviated k2tog, and it is done exactly like it sounds. Insert your right needle into the next two stitches knitwise, like in the picture below, and knit them together.
Slip Slip Knit
This is the most common left-leaning decrease, usually abbreviated ssk, and it often appears opposite from a k2tog. First you slip the next two stitches, one at a time, knitwise. Then you insert your left needle back through those two stitches and knit them together.
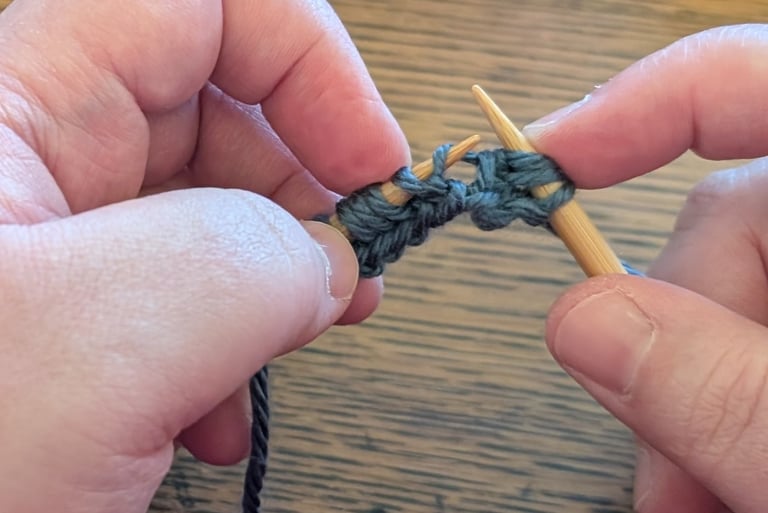
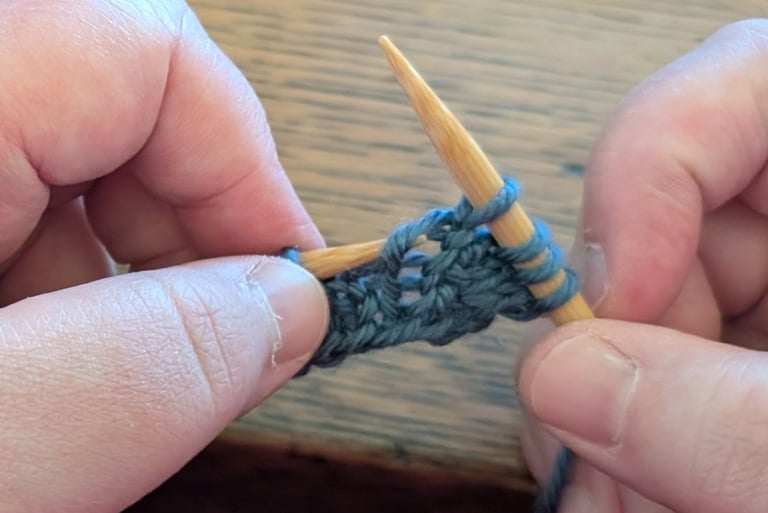
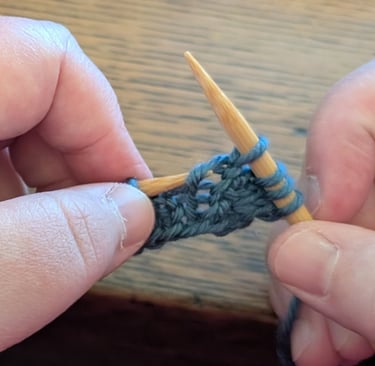
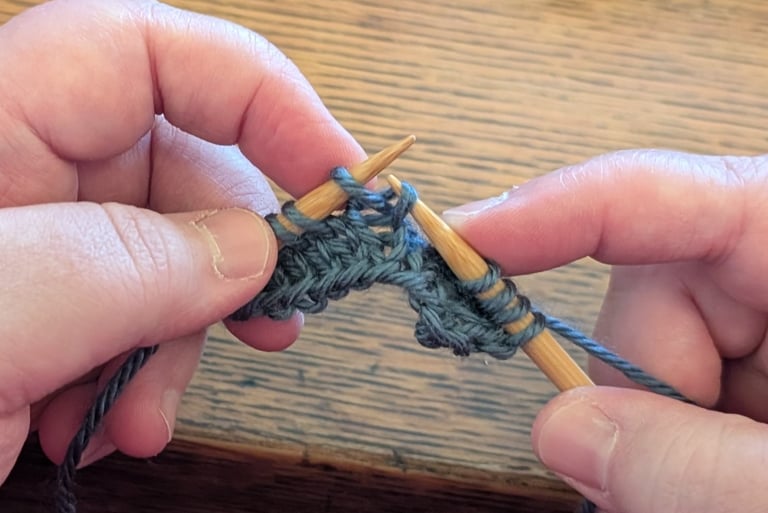
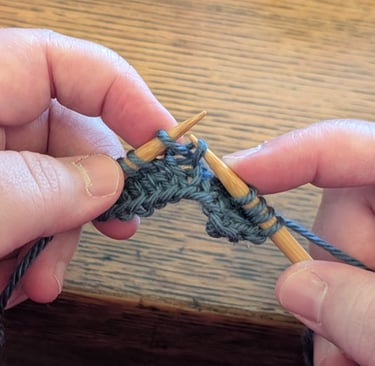
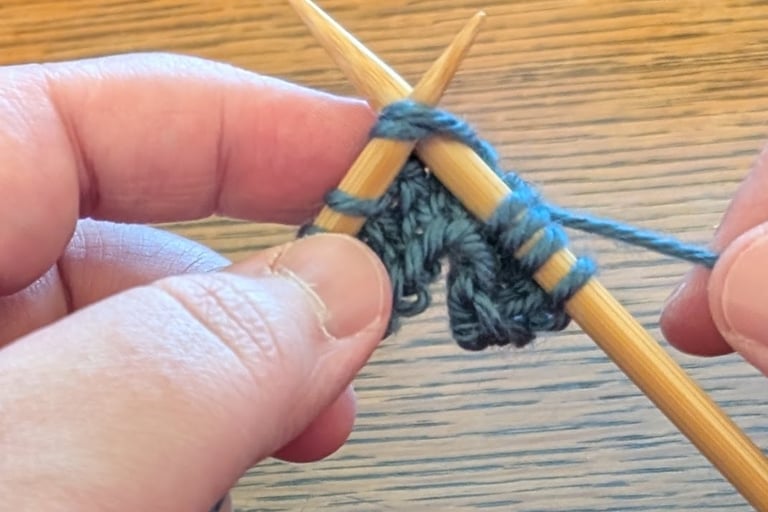
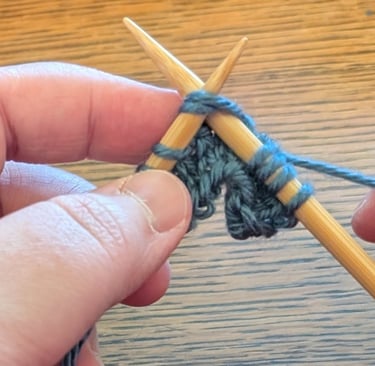
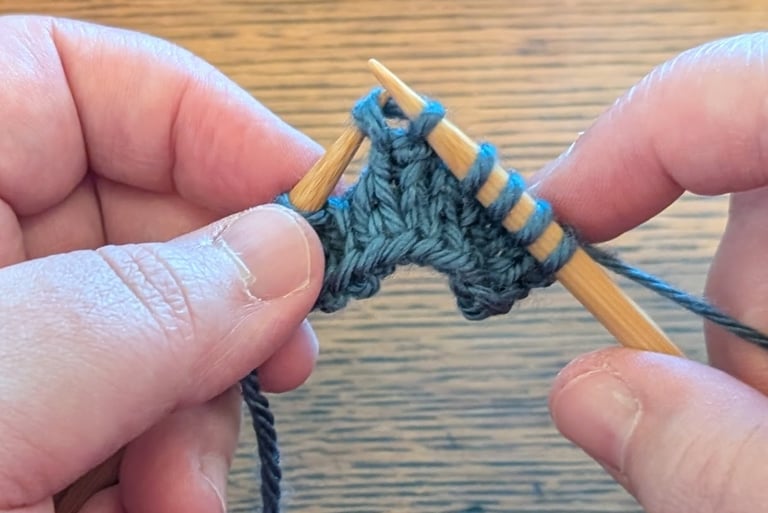
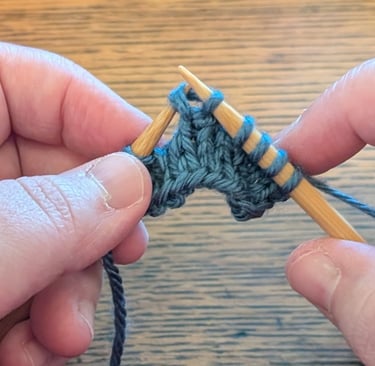
Centered Double Decrease
As the name suggests, this decreases two stitches at a time, and does not slant either direction. It is abbreviated as CDD, or sometimes S2KP2 (slip 2, knit, pass 2 over). First you slip the next two stitches as if to knit them together, transferring them to the right needle. Then knit the next stitch like normal, then use your left needle to pass the two slipped stitches over the knit stitch.
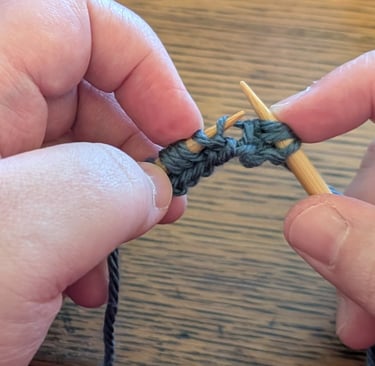
Knit Three Together
This double decrease leans to the right, just like the k2tog. Similarly, it is abbreviated k3tog and is done by inserting your right needle into the next three stitches knitwise and knitting them all together. It is not very complicated to understand, but it can feel a bit awkward in your hands.
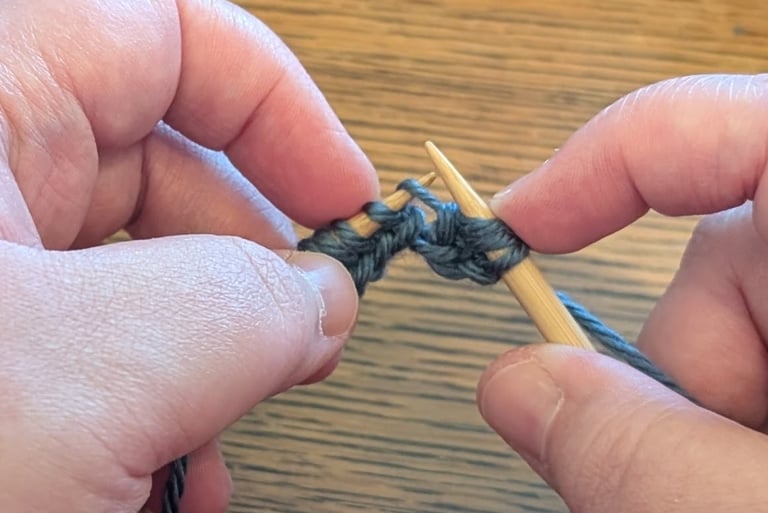
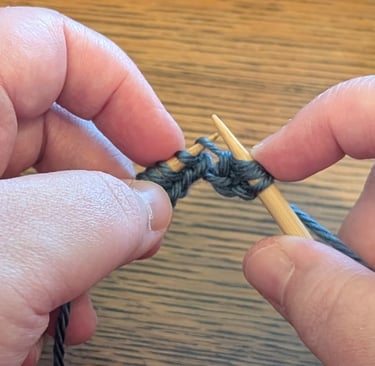
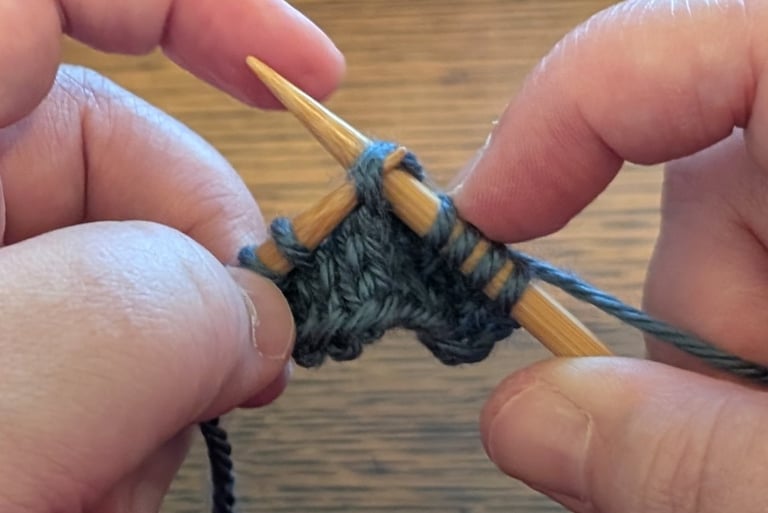
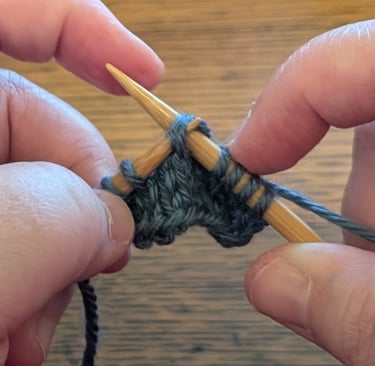
Sl1-k2tog-psso
Sorry for the long abbreviation, but this stitch does not have a shortened name that I know of. Similar to the CDD, it is a double decrease, but it leans to the left. For this stitch, slip the first stitch knitwise, knit the next two stitches together, then pass the slipped stitch over the k2tog.
There are many more possibilities, but these are the most commonly used increases and decreases. Most of them have purl counterparts if you’re doing any shaping on wrong side rows. If you have any questions or want any help doing any of these, please use the form below to send me an email. Happy stitching!