Knitting in the Round
Learn 3 methods for knitting the round
3/17/20255 min read
Knitting in the round may seem tricky at first, but you might be surprised how easy it is once you sit down and actually start. In order to knit in the round, you will need either circular needles or double pointed needles (DPNs). There are a few different ways to use them to knit in the round.
Circular Needles
Circular needles have two tips but are joined by a flexible cable. The tips come in different sizes, just like straight needles, and the cables come in different lengths. The full circular length from tip to tip should be slightly smaller than whatever you are knitting. If it’s longer, you risk your stitches stretching out too far, resulting in uneven and loose tension.
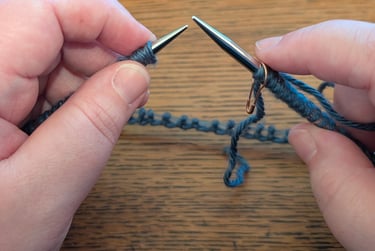
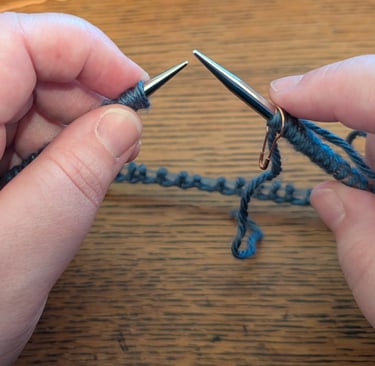
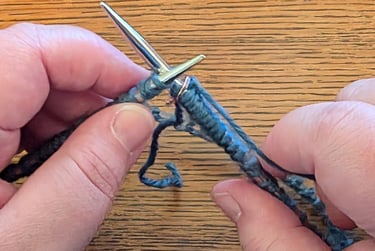
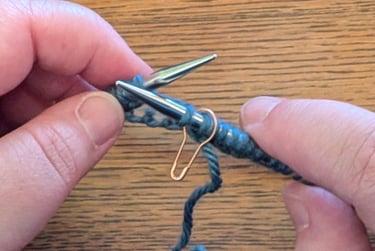
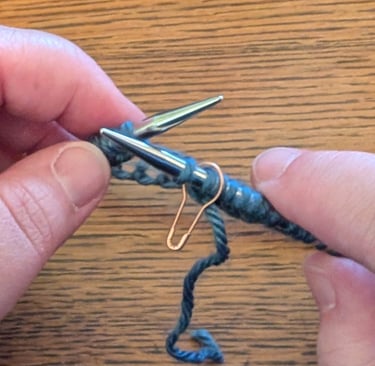
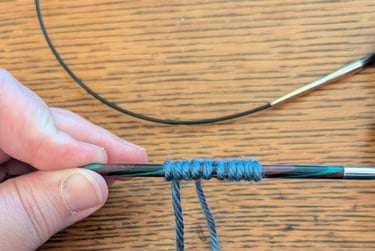
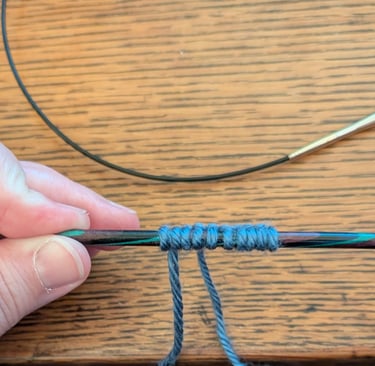
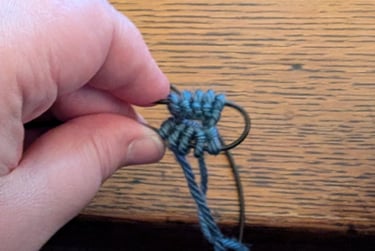
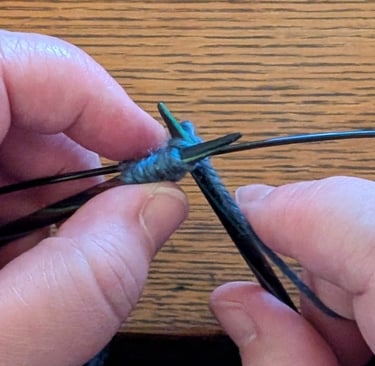
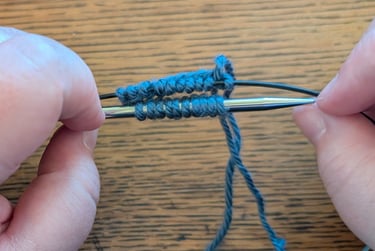
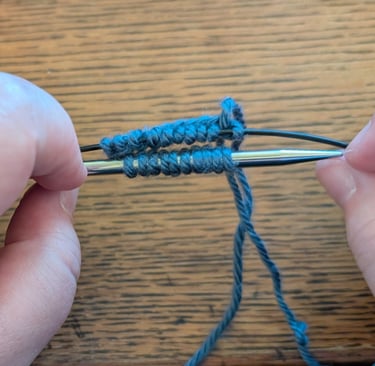
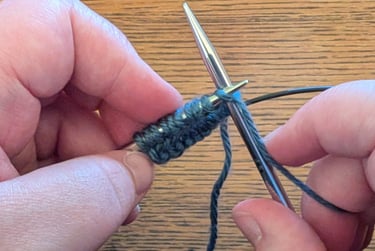
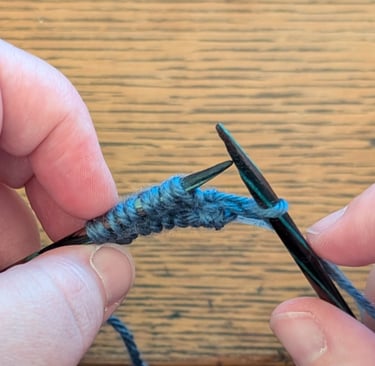
To use circular needles, cast on as many stitches as you need for your project just like you would on straight needles. If you’ve never done this before, it might feel a little awkward casting on with the second tip dangling, but it’s ok. Once your stitches are cast on, place a stitch marker onto the needle tip where you finished the cast-on. This will mark the beginning of the round so you can keep track of how much you have knit. To join in the round, double-check that your cast-on is not twisted at any point. Knit with the working yarn starting with the first stitch you cast on. Don’t worry if it is a little bit loose, that is normal. You can always pull it tighter when you weave in the tail.
Alternatively, you can knit the first few rows back and forth and then join in the round. If you do this, you will use the tail to seam the edge for the rows you knit flat. Some people prefer this method since it is easier to see what’s going on and to make sure it’s not twisted.

Magic Loop
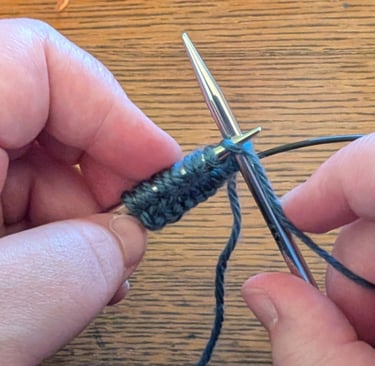
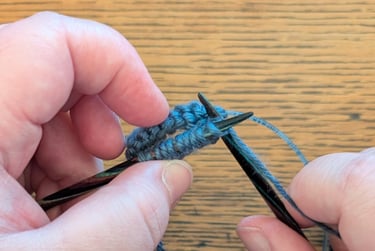
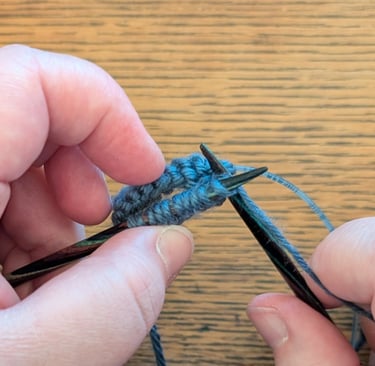
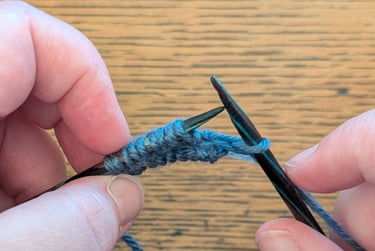
This is another method to use circular needles with a long cable. It is a great method to knit things with small circumferences, such as fingers for gloves or the tops of hats. For this method, you will cast on all the stitches you need, slide them all to the cable, then split them so that half the stitches are one side, and half are on the other, like in the picture below.
Move the first half of the stitches to the needle tip and leave the other half on the cable. Use the second needle tip to knit the first half of the stitches. Then you will slide those stitches to the cable, slide the second half to the needle, and repeat. Remember the side with the tail is the side where the round begins/ends, so you don’t need a stitch marker to mark the beginning of the round.


Two Circular Method
This method requires two sets of circular needles of the same size. This method also works well for small circumferences, and for projects that have a lot of variation in the size of the rounds. As long as the length of each cable is longer than half of the round, you can use any length of cable. The two pairs of needles should be distinct from each other so you don’t mix them up (if they’re different materials, make sure your gauge isn’t too different). You will cast on half the stitches you need onto one set of needles, and the other half on the other set. Slide the second half of the stitches to the cable and let them sit there. Slide the first half to the needle so that the first stitch you cast on is at the end. Use the other end of the same set to knit those stitches, then slide them to the cable. Move the second half of the stitches to the needle and knit them in the same way. Just like with magic loop, the side with the tail is where the beginning of the round is, so you don’t need a stitch marker.
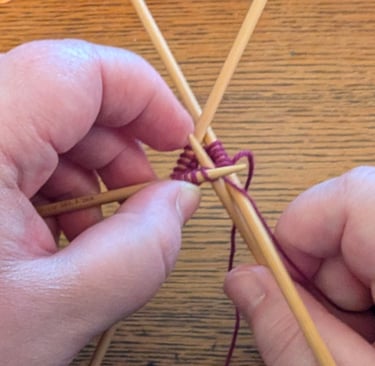
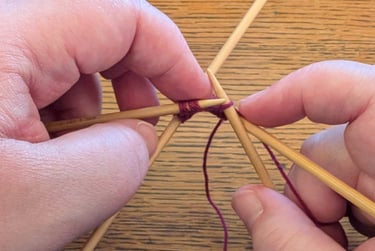
DPNs
As the name suggests, DPNs have points on both ends, and come in sets of 4 or 5 in all different sizes and lengths. When casting on, I find it most helpful to cast on all the stitches on one needle and then transfer some of them to other needles so they are spread out as evenly as possible. You want to keep one of the needles free so that you have one to knit with. I also like to “point” the cast-on edge inward when joining the ends in the round to make sure it’s not twisted. Use the free needle to knit the first stitches you cast on. When you finish the stitches on that needle, it becomes free to knit the stitches on the next needle, which then becomes free to knit off the next needle, etc. The tail lets you know where you started, but it isn’t as obvious as the magic loop or two circular methods, so some people prefer to transfer the first or last stitch onto another needle so they can add a stitch marker at the beginning of the round. One note of caution: when starting on a new needle, you want to pull the first two stitches fairly tight so you don’t create any laddering. Using DPNs can be a bit fiddly, especially in the first few rounds, but some people strongly prefer them, so they’re worth a try!

Conclusion
Give all of these methods a try and see which you prefer. Circular needles can be interchangeable, usually in sets of multiple-sized tips and several lengths of cable that can detach from the tips. They can be a bit pricey, especially for the high-quality sets, but I highly recommend getting at least one set to have on hand, even if it’s a cheap or secondhand set. I have several sets (I may have a problem), but I almost exclusively use my interchangeable needles now. You can even use them to knit flat, and they’re great to have for large flat projects like shawls and blankets. I still have a set of DPNs for when I feel like using those instead, but my interchangeable sets have completely replaced all of my straight needles. If you have any questions or comments about any of these, send me an email using the form below. I’d love to see what you’re working on! Happy stitching!