Elevating Knit Edges
Neaten up your knitted edges
2/16/20264 min read
Whether you’ll be seaming an edge, leaving it exposed, or picking up stitches, clean knit edges are important for a polished finished look. You may have heard other knitters saying to slip the first stitch of every row to make a neater edge, but this isn’t the only way to get a nice edge, and it isn’t always appropriate.
Common Edge Problems
Some people tend to knit their edges too loosely, and they become wavy. Others tend to knit them too tightly, and the fabric puckers. This happens often, especially when you are changing colors and carrying the yarn along the side. You may be trying to slip the first stitch of every row, but they end up inconsistent. Certain stitch patterns (looking at you, stockinette) tend to curl on the edges if there isn’t a border that doesn’t tend to curl.
Slip Stitch Edges
Slipping the first stitch of every row creates a nice chain-like edge, as shown below. If your slip stitches tend to be too tight, try loosening them a bit. If they tend to be loose, tighten them a bit before moving on. The trick is to use the size of your needle to keep the size of the slipped stitches even. When I use this technique, I have a tendency to tighten it as I knit the next stitch, so I use my thumb to hold the stitch in place to keep it just the right size as I continue to the next couple of stitches. Note that doing a slip stitch edge creates one stitch every two rows, so if you’ll be seaming or picking up stitches along that edge, this probably isn’t the best option.
Garter Stitch Border
A garter stitch border nicely frames textured stitch patterns with the added benefit of keeping them from curling. Add a few rows of garter stitch to the top and bottom of your piece, and add 3-5 stitches on either side to knit in garter stitch as well. This gives a neat contrast to whatever stitch pattern you have in the middle.

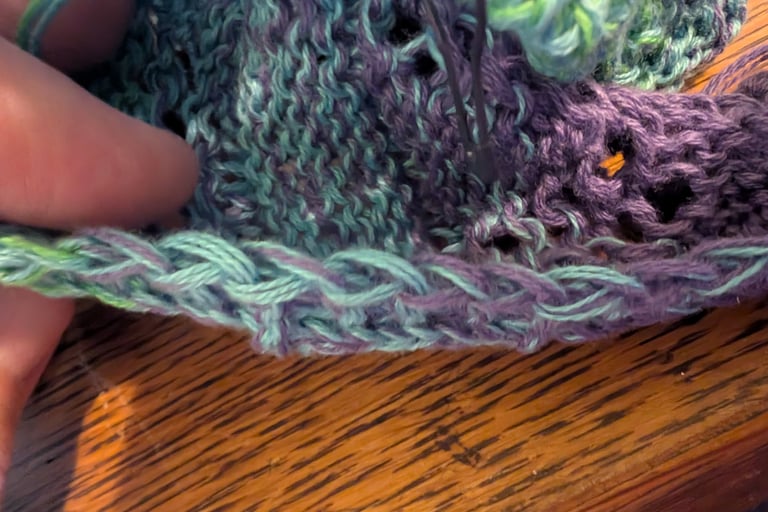
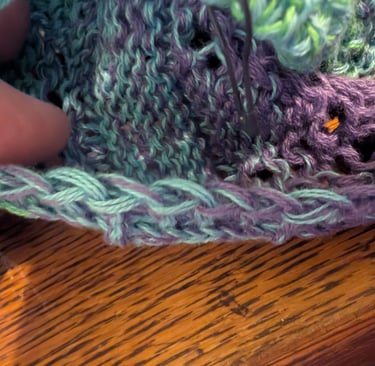
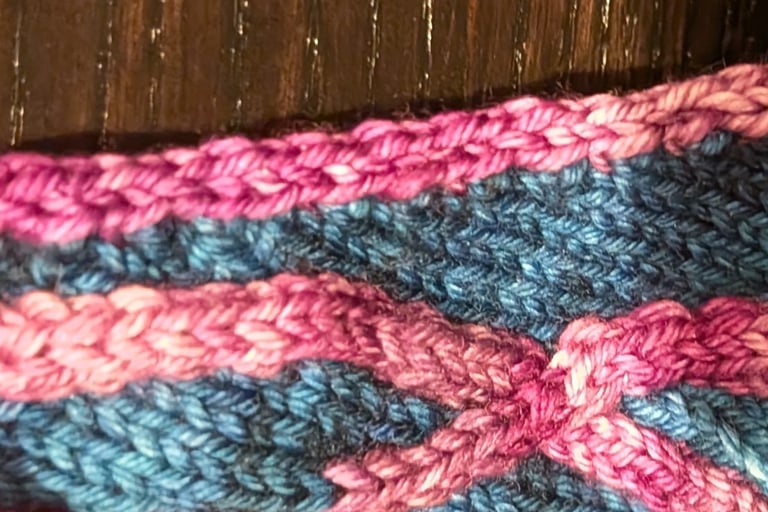
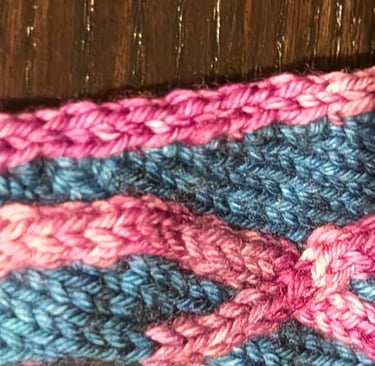
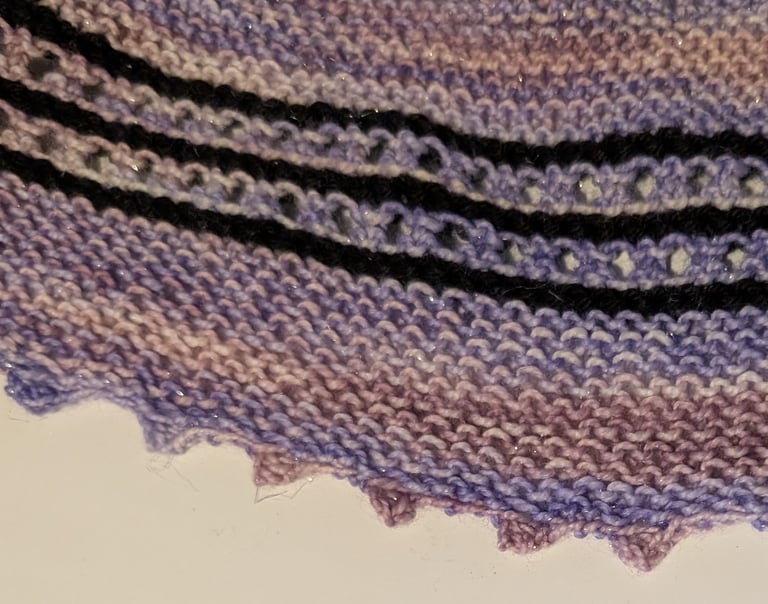
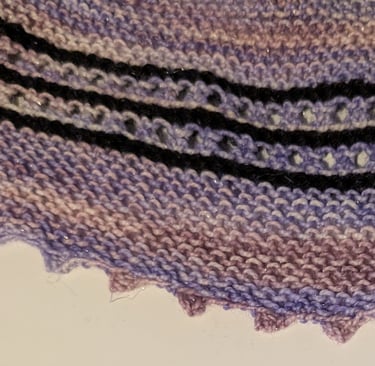
I-cord Edges
This one is a personal favorite of mine! I-cords can be added to any edge as you’re knitting the piece, or they can be applied after the fact. To knit an I-cord along the sides of your piece, add 3 stitches to either side, slip them purlwise with the yarn in front at the end of every row, then knit them when you start the next row. This pulls those stitches in to make the typical I-cord look, as shown in the first picture below. You can apply an I-cord to an edge after the fact by sewing it on or using DPNs to pick up and knit stitches together, but I prefer to use a Cordsmith. You can check out my video on I-cord edges with a Cordsmith here. The nice thing about applied I-cord edges is that you can make them in a contrasting color, as shown in the second picture below.

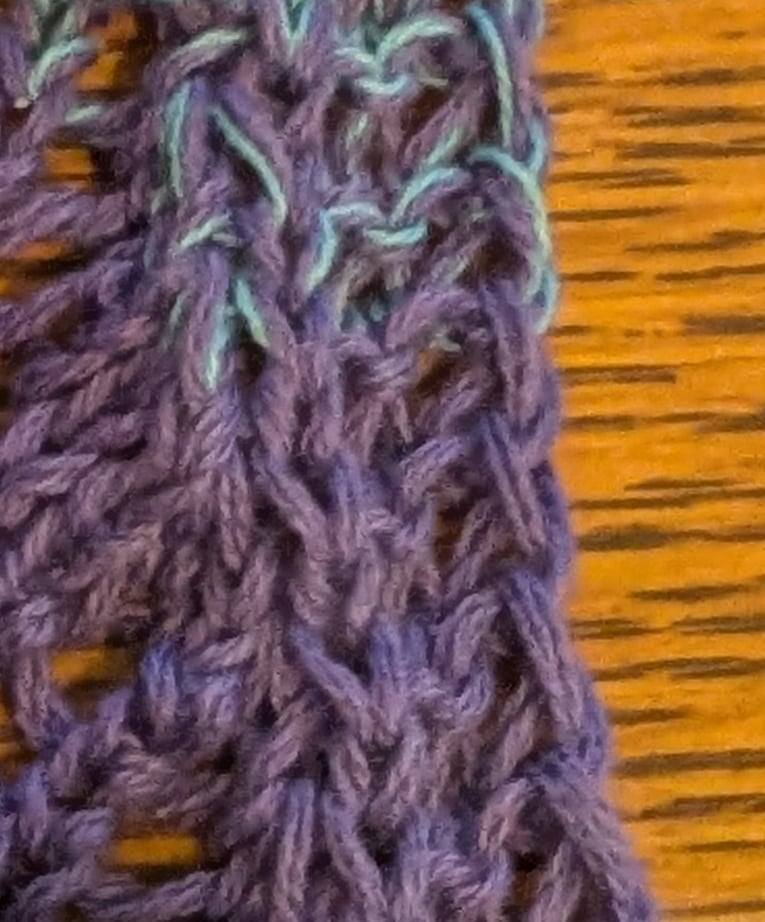
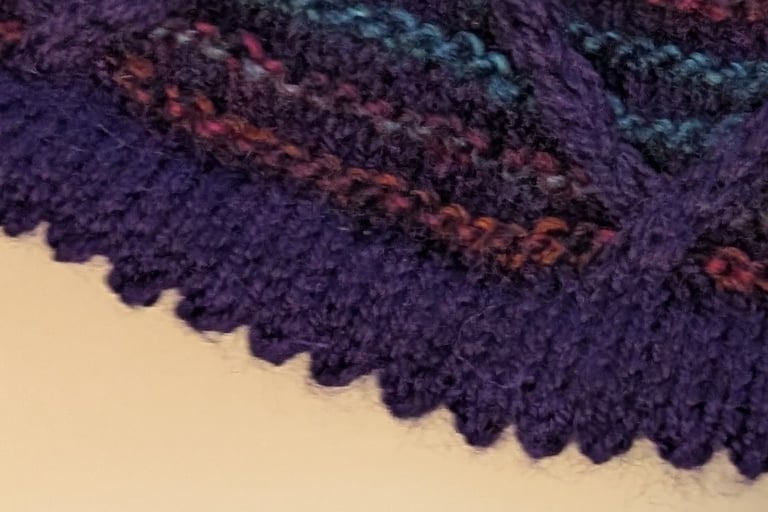
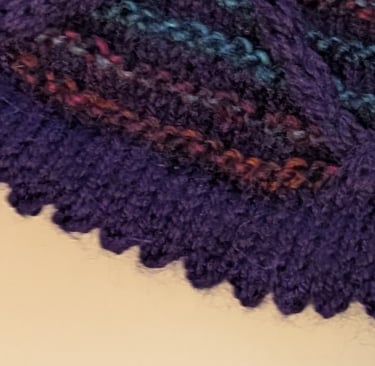
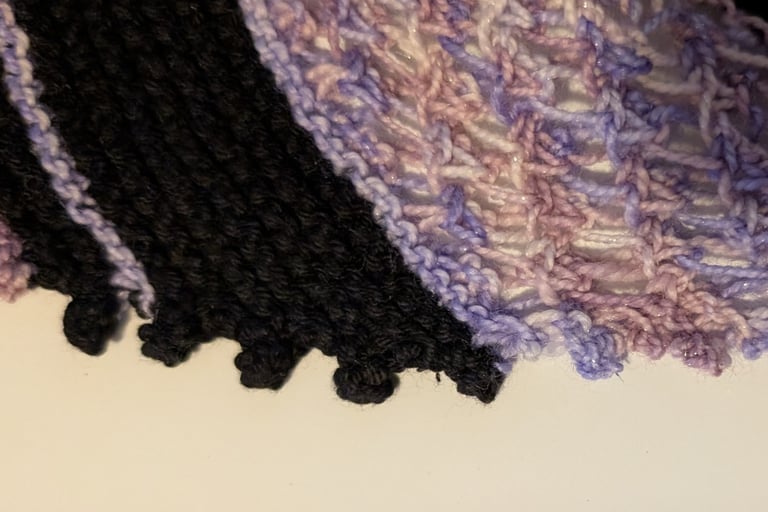
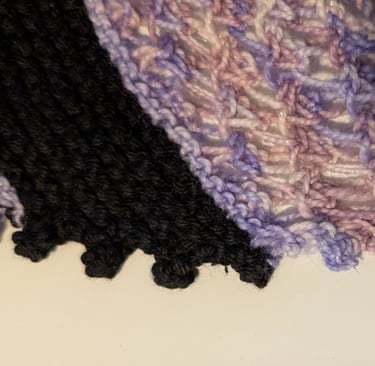
Picot Edges
Picot edges are cute and dainty, and they can be done in a few different ways. One way of doing this is to knit several rows/rounds of stockinette, then a row/round of yarnovers and k2tog, then continue with your pattern and hem the stockinette section so that the yarnovers are at the edge (first picture). Picots can also be made along the cast-on, the side edge (second picture), or the bind-off (third picture) by casting on and binding off extra stitches.
Consistent Tension
Keeping your tension consistent is key to clean edges, and it takes some practice. If this is something you struggle with, check your edge tension every few rows to make sure you’re staying consistent. Use the trick I mentioned earlier, holding the stitch in place with your thumb to make sure you don’t accidentally loosen or pull the edge stitch too tight. Remember that the tension you use on the second stitch of the row impacts how the edge stitch behaves. Blocking is also an important step to getting even stitches along your edges.
This is just the tip of the iceberg when it comes to knitted edges. Do you have a favorite edge stitch I didn’t mention? Let me know using the form below! Happy stitching!